Blog

Coconut Love

Oatmeal Cookies with Toasted Coconut and Bittersweet Chocolate

I can’t seem to get enough of coconut these days, as evidenced by my recent posts for Pineapple Coconut Cream Pie and Love-My-Butt-the-Way-It-Is Bars — and by several extreme closeups of the stuff found on my digital camera.

I lust it.

And I lust it even more toasted (the coconut, that is, not me).

A pile of goodness, ready to be folded into oatmeal cookie dough.

So, given my lack of self-control when it comes to the white stuff and my surplus of old-fashioned rolled oats, I decided oatmeal cookies with toasted coconut were the way to go this week. They baked up chewy (in the middle) and crisp (along the edge) and after downing a few with a glass of cold milk, these swiftly became my favorite cookies. This week, anyway.

Oatmeal Cookies with Toasted Coconut
(adapted from Ghirardelli’s recipe for oatmeal chocolate chip cookies)

1 cup all-purpose flour
1 teaspoon baking soda
1/2 teaspoon salt
1 teaspoon cinnamon
1/4 teaspoon nutmeg

1 cup (2 sticks) butter, softened
3/4 cup packed brown sugar
1/2 granulated sugar
1 large egg, lightly beaten
1 1/2 teaspoons vanilla
3 cups old-fashioned rolled oats
2 cups bittersweet chocolate chunks
1 1/2 cups flaked coconut, toasted*

Preheat oven to 375 degrees.

In small bowl, whisk together flour, baking soda, spices and salt. Set aside.

In large bowl, cream butter and sugars until light and fluffy. Mix in vanilla and egg until just combined.

Add flour mixture, mixing to combine.

Stir in oats.

Fold in chocolate chips.

Gently fold in toasted coconut.

Drop by rounded tablespoon — I use a 1-inch scoop (I like ’em jumbo and uniformly jumbo at that) — onto ungreased, cool-to-the-touch cookie sheets.

Dough love. (Truth be told, I give the dough balls a smoosh with the back of the scoop after placing on the cookie sheet.)

Bake for 8-11 minutes, depending on how chewy or crispy you like your cookies.

Let cool for about a minute on the cookie sheets, then transfer to wire racks to cool completely.

Eat.

(*To toast coconut, spread flakes evenly on ungreased cookie sheet and bake in 375-degree oven for about 5 minutes, giving the flakes a toss every couple of minutes. Let cool completely before using in recipe.)

Cool Like Me

As much as I love to bake, I’ve avoided preheating the oven these last few weeks. With raging humidity — and without air conditioning — baking is decidedly less fun. I have no interest in sweating more than I already am.

Luckily for me, and thanks to my aunt, I have in my possession a recipe that likes to keep things cool — Pineapple Coconut Cream Pie. Short of cooking up a custard in a saucepan and browning a meringue topping in the oven for a few minutes, there’s not much heat involved. Just some beating and whipping and the promise of cool, creamy pineapple-coconut bliss.

And, considering it’s a cream pie, it’s relatively light — there’s no heavy cream or milk involved — proving that, with a couple of eggs handy, nearly anything is possible.

Pineapple Coconut Cream Pie (recipe courtesy of Aunt-to-Yours-Truly Lori Johnston)
filling:
1/2 cup granulated sugar
1/3 cup all-purpose flour
1/4 teaspoon salt
1 1/2 cups water
8-ounce can crushed pineapple
2 egg yolks, lightly beaten
1 tablespoon butter
1 tablespoon lemon juice
1 cup flaked coconut
1 9-inch single-crust pie shell, baked and cooled (I went the crumb-crust route using vanilla wafers, melted butter and a bit of sugar, but the recipe calls for a classic pastry crust. Do what you will.)
meringue topping:
2 egg whites
1/2 cup granulated sugar
1/8 teaspoon salt
1/2 teaspoon vanilla
1/3 cup flaked coconut

In a heavy saucepan (with the burner off), whisk together 1/2 cup sugar, flour and 1/4 teaspoon salt.

Add water, undrained pineapple and egg yolks, stirring after each addition.

Turn the heat to medium and cook until mixture begins to boil (about 6 minutes).

Blend in butter and lemon juice. Remove pan from heat and let cool.

Fold 1 cup coconut into cooled filling. Pour into prepared (*cooled*) pie crust.

Pineapple-coconut bliss in a vanilla-wafer crust.

Beat egg whites with 1/2 cup sugar and 1/8 teaspoon salt until stiff peaks form.

Gently fold in vanilla and 1/3 cup coconut.

Spread meringue over pie filling.

Bake at 425 degrees until meringue is light golden-brown (about 4-5 minutes).

Chill.

Beat the heat with pie, people. Pineapple Coconut Cream Pie.

The Pleasures of Pig

My handcrafted, blown-glass pig salt-and-pepper shakers. I picked them up at the League of N.H. Craftsmen’s annual fair.

In the first chapter of Little House in the Big Woods, Laura Ingalls Wilder recounts in vivid detail butchering time at the little house, including several pages dedicated to breaking down the family hog into various delectable pork products — hams, shoulders, side meat, spare-ribs, belly, the head for headcheese, “and the dishpan full of bits to be made into sausage.”

First, though, Pa has to kill the hog. And while Laura is bothered a bit by the pig’s demise — she covers her ears to block out the squealing, even after Pa reassures her that “it doesn’t hurt him … we do it so quickly” — this doesn’t stop her from using his bladder as a plaything after the dirty work is done. (An illustration in the book charmingly depicts Laura and her sister Mary swatting the air-filled, balloon-like bladder back and forth in the yard.)

I remember reading this passage as a child and thinking, “Wow. That’s so cool. I want a pig’s bladder.”

Anyway, the only thing that seems to give Laura more pleasure than the bladder-cum-beachball is roasting the pig’s tail over hot coals, nibbling on the crispy meat, then sharing the bony scraps with her faithful bulldog, Jack.

Clearly, this was the best of times, but why am I telling you about this now? On a blog that worships at the altar of baked goods? Well, I have no good reason, actually, other than to share my passion for all things pig and to remind you to support food producers who respect and use all parts of my pig friends.

And to make the point that I have no problem thinking you’re cute and wanting to eat you.

King Arthur Flour: The People, The Place, The Pie

Instructor Michelle Kupiec demonstrates how to make pizza margherita during Blog & Bake 2011 at King Arthur Flour’s Baking Education Center in Norwich, VT.  (By the way, Michelle didn’t laugh at me when I somehow managed to drop my pizza on the floor before making it to the wood-fired oven. Michelle told me to make another one. Michelle’s nice like that.)

Over the course of the last two days, I have accumulated 297 new photos, developed dozens of girl crushes, added 5 pounds to my derriere (I’m sure, but I didn’t really check and I don’t really care), received baking instruction from The Source of all sources, garnered a reputation as a pizza dropper (more on this calamitous act later), cultivated fresh friendships over dinner (thank you, Sara Moulton, for showing us how to make it and for being so generous of spirit) at an historic Vermont inn (if you haven’t been, get thee to the Norwich Inn post haste), produced pages of chicken scratch that I like to call “notes,” and been given an inside look at operations at the world’s best flour company — I’m sure you’ve figured this out by now — King Arthur Flour.

Bread, fresh from the oven at King Arthur Flour. Need I say more?

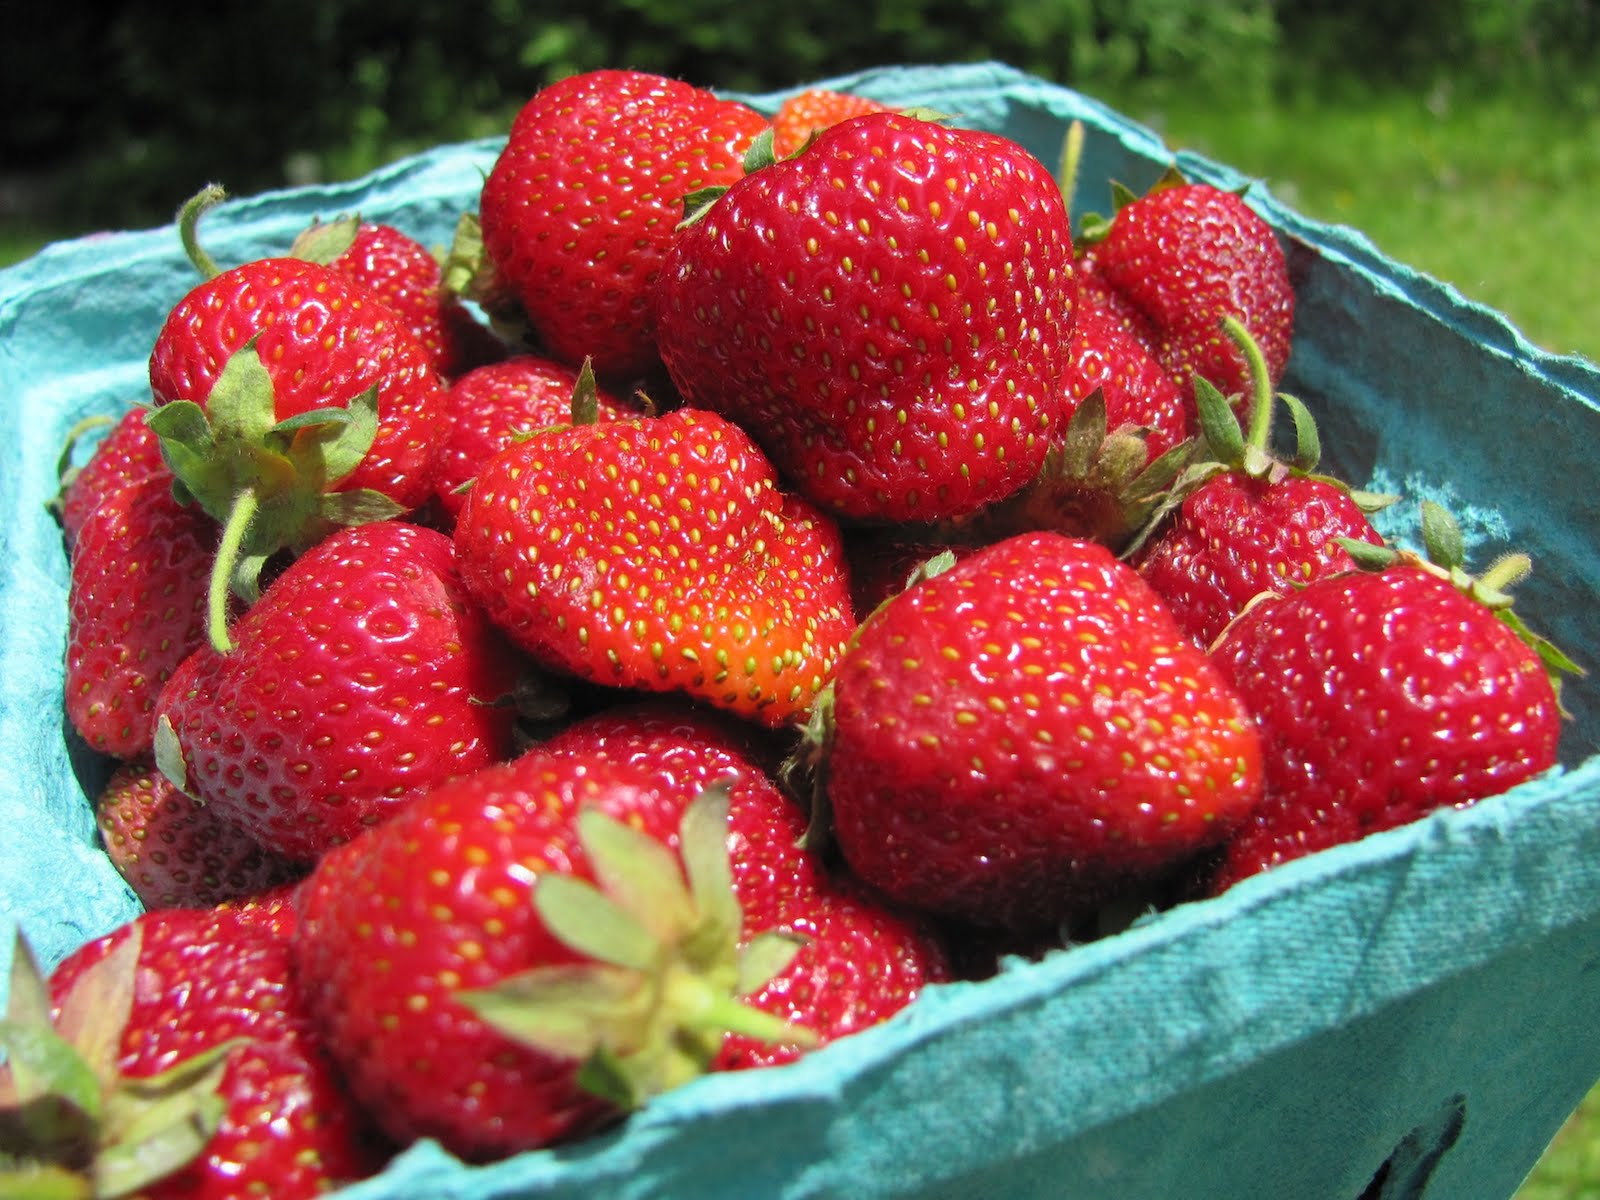
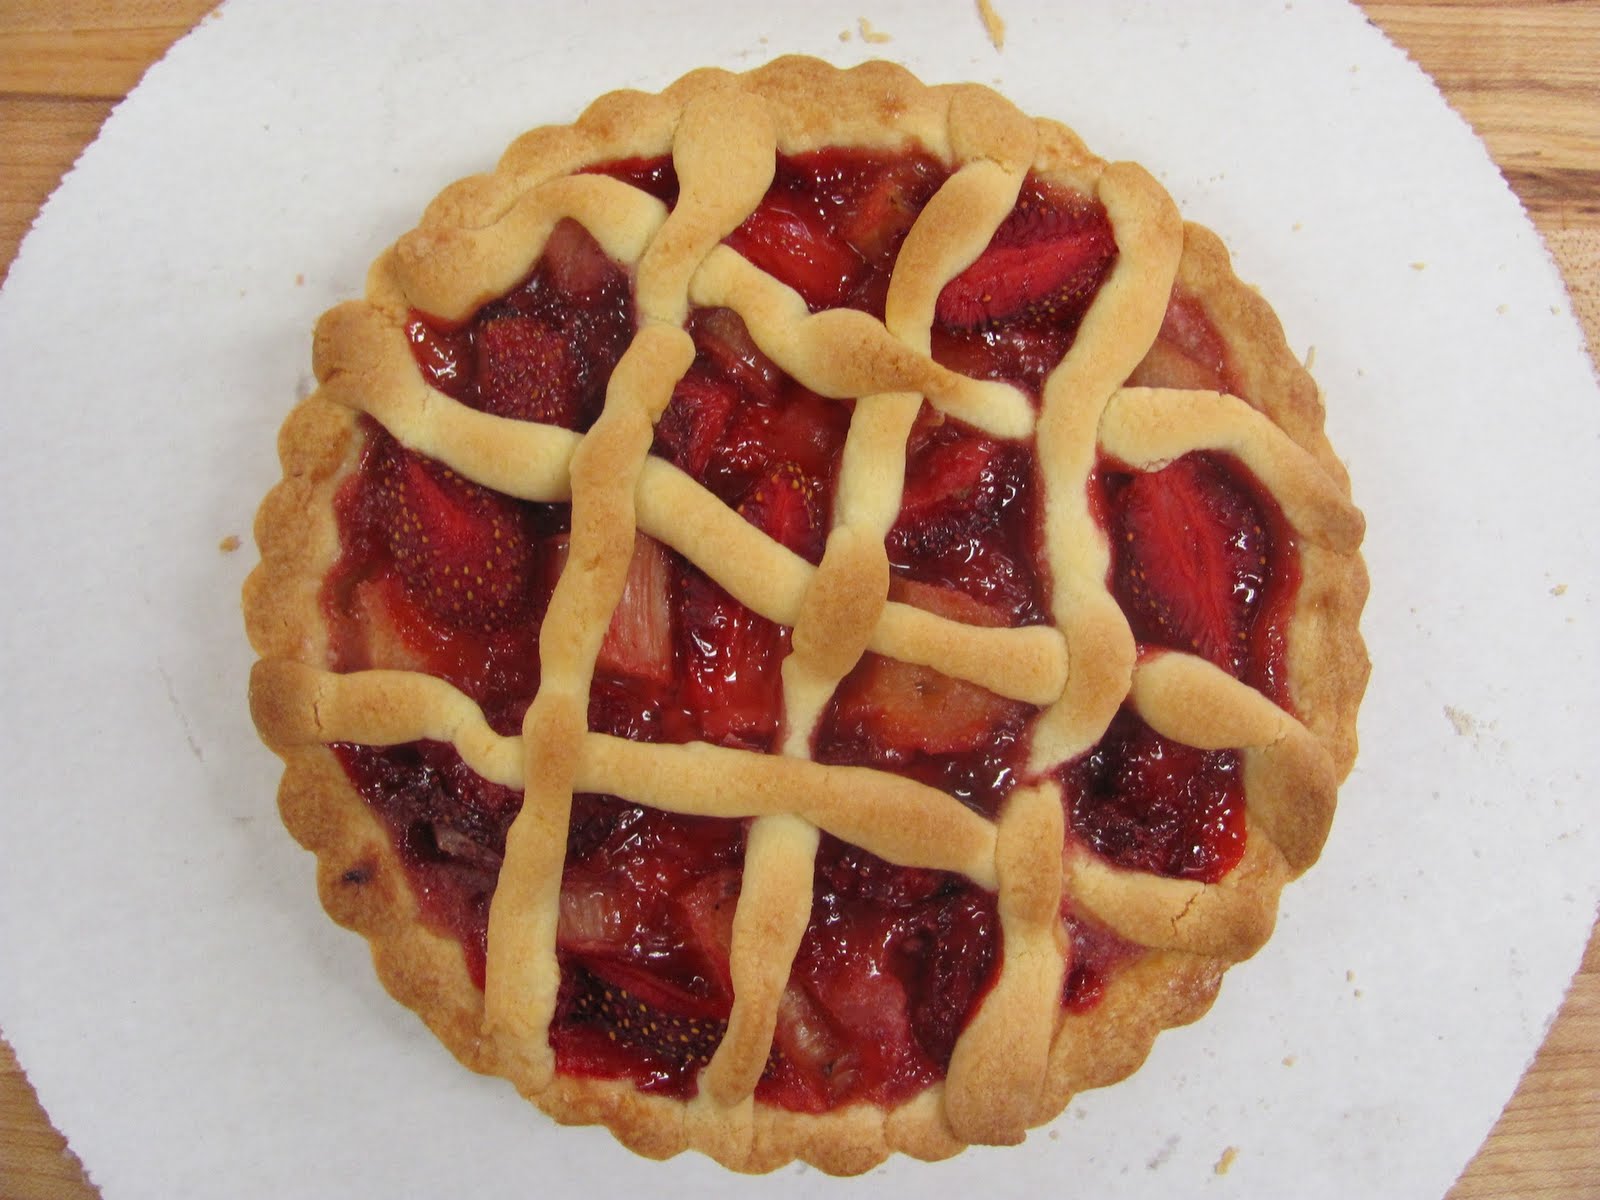
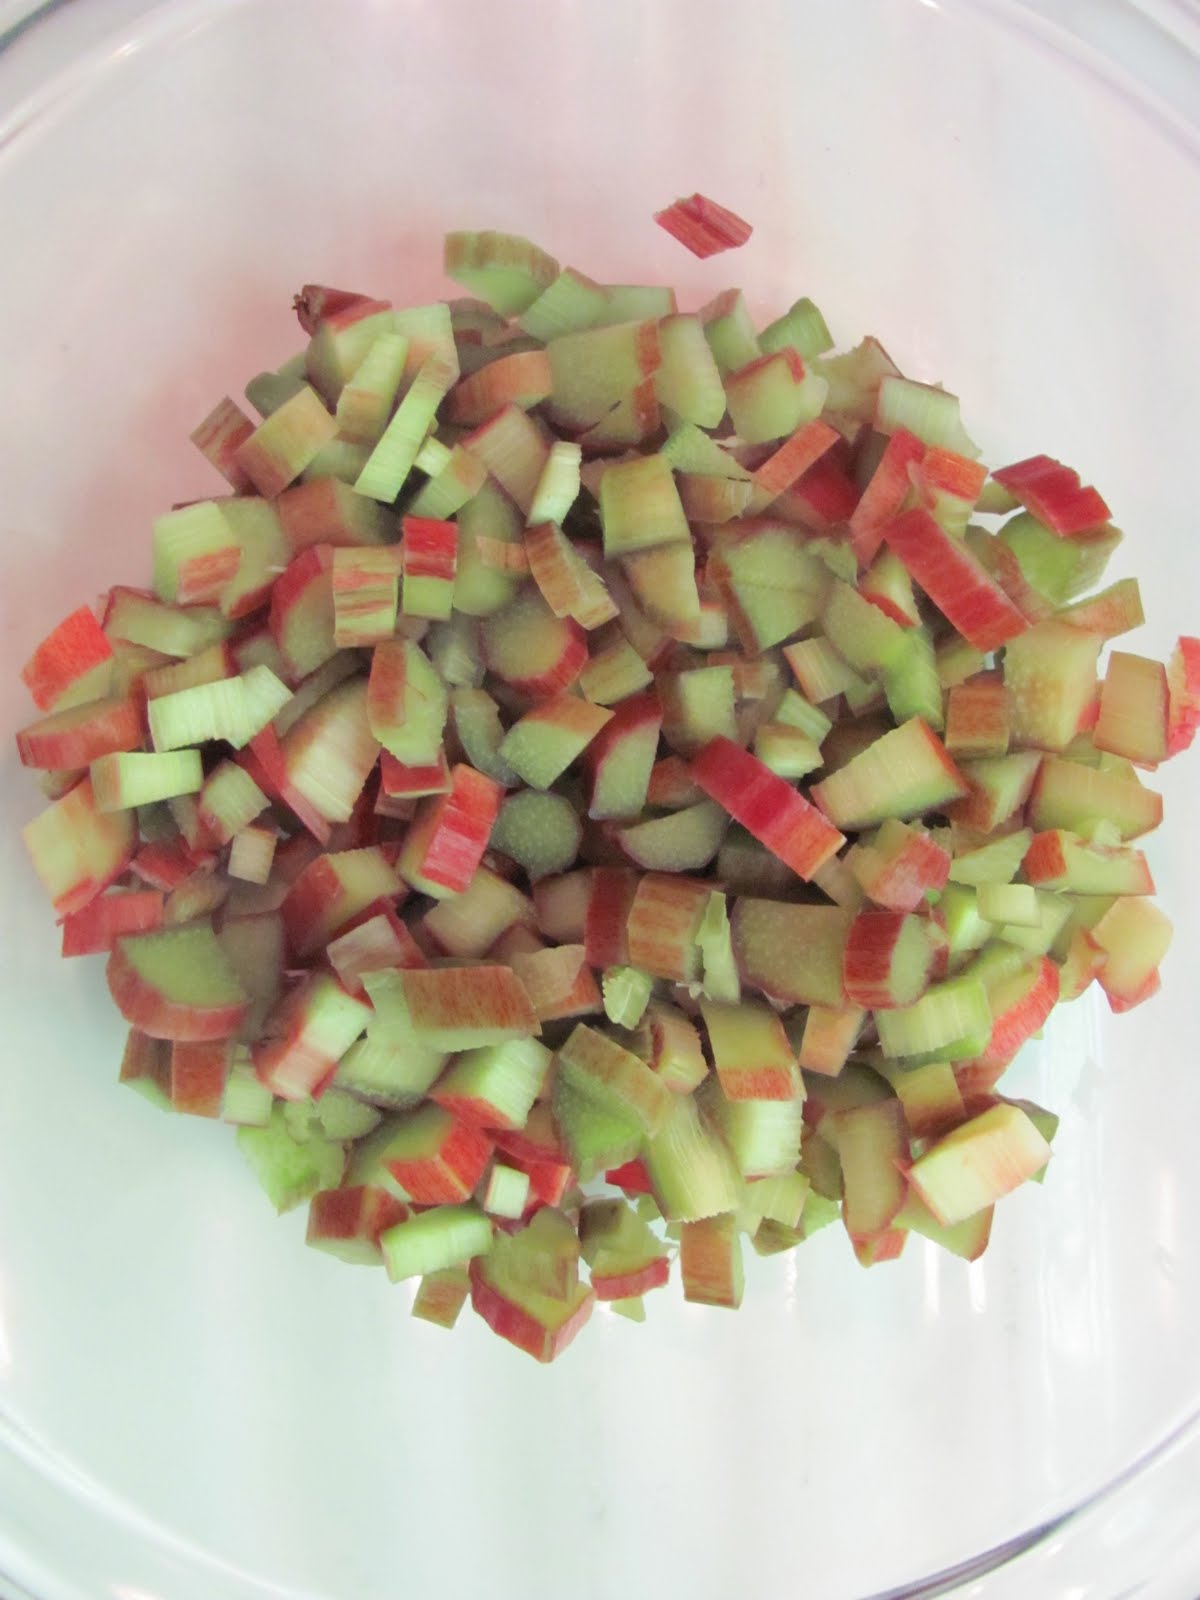
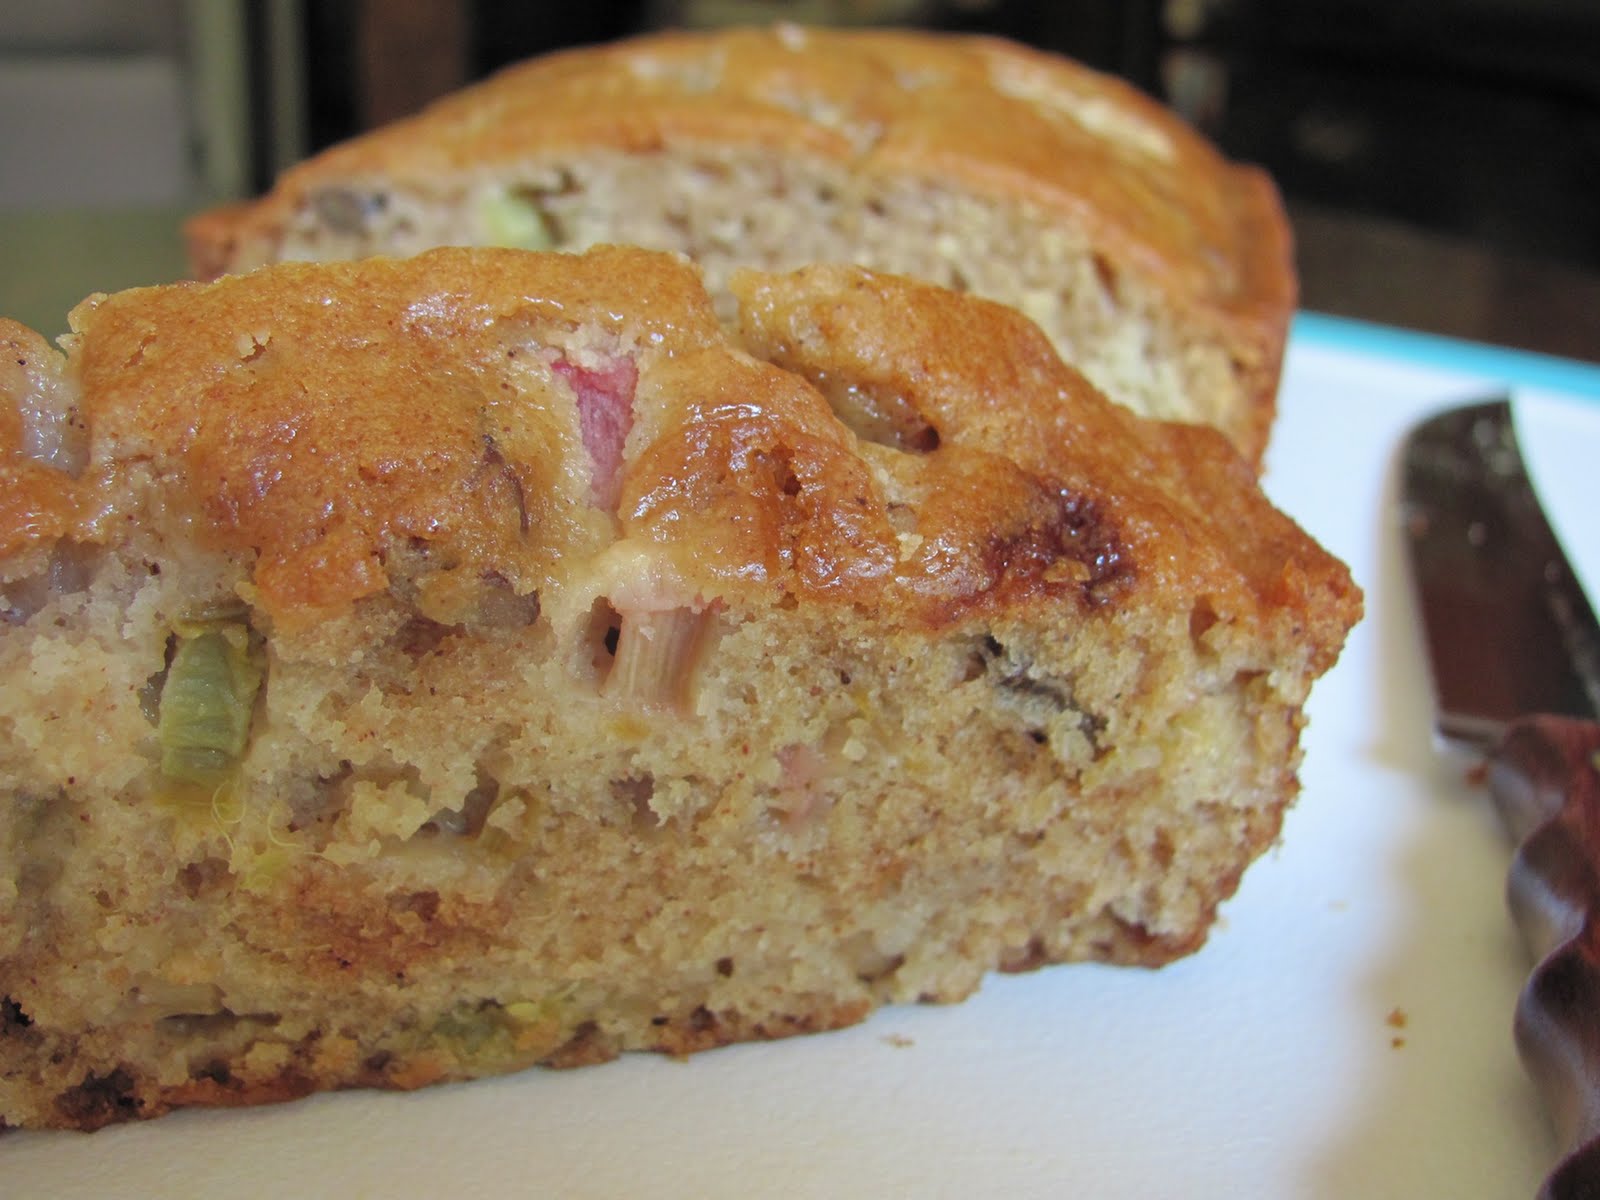
Gratuitous Strawberry-Rhubarb Tart shot. (I’ll tell you more about this little round of heaven later.)


You see, The King invited a handful of food bloggers and writers from across the country to Blog & Bake 2011, and I was lucky enough to be among them.

B&B ended late yesterday afternoon (sniff), and I told myself I wouldn’t shower this morning until I told you about the fabulous goings-on. And so here I sit with frizzy hair, caffeine coursing through my veins, wearing the most forgiving of my elastic-waist pants, trying to figure out how to tell you everything without driving you (and me) crazy.

With that in mind, I’ve decided on a three-part series — King Arthur Flour: The People, The Place, The Pie (and bread, and scones, and pizza, and … ). Anyway, I’ll try not to deviate from this plan for sanity’s sake. Here goes:

The People
I fully embrace the risk of sounding like a schmaltzy brown-noser when I say the folks at King Arthur Flour are smart, warm, generous, funny and spunky. The same goes for my fellow bloggers/writers. The same goes for chef Sara Moulton. I learned from all of them, and I hope to share some of that with you here at Love & Scraps.

And so we begin:

Our fearless leader, King Arthur Flour’s Allison Furbish, guides us on a tour behind the scenes at KAF. (Allison made Blog & Bake happen. Allison invited me. I heart Allison.)
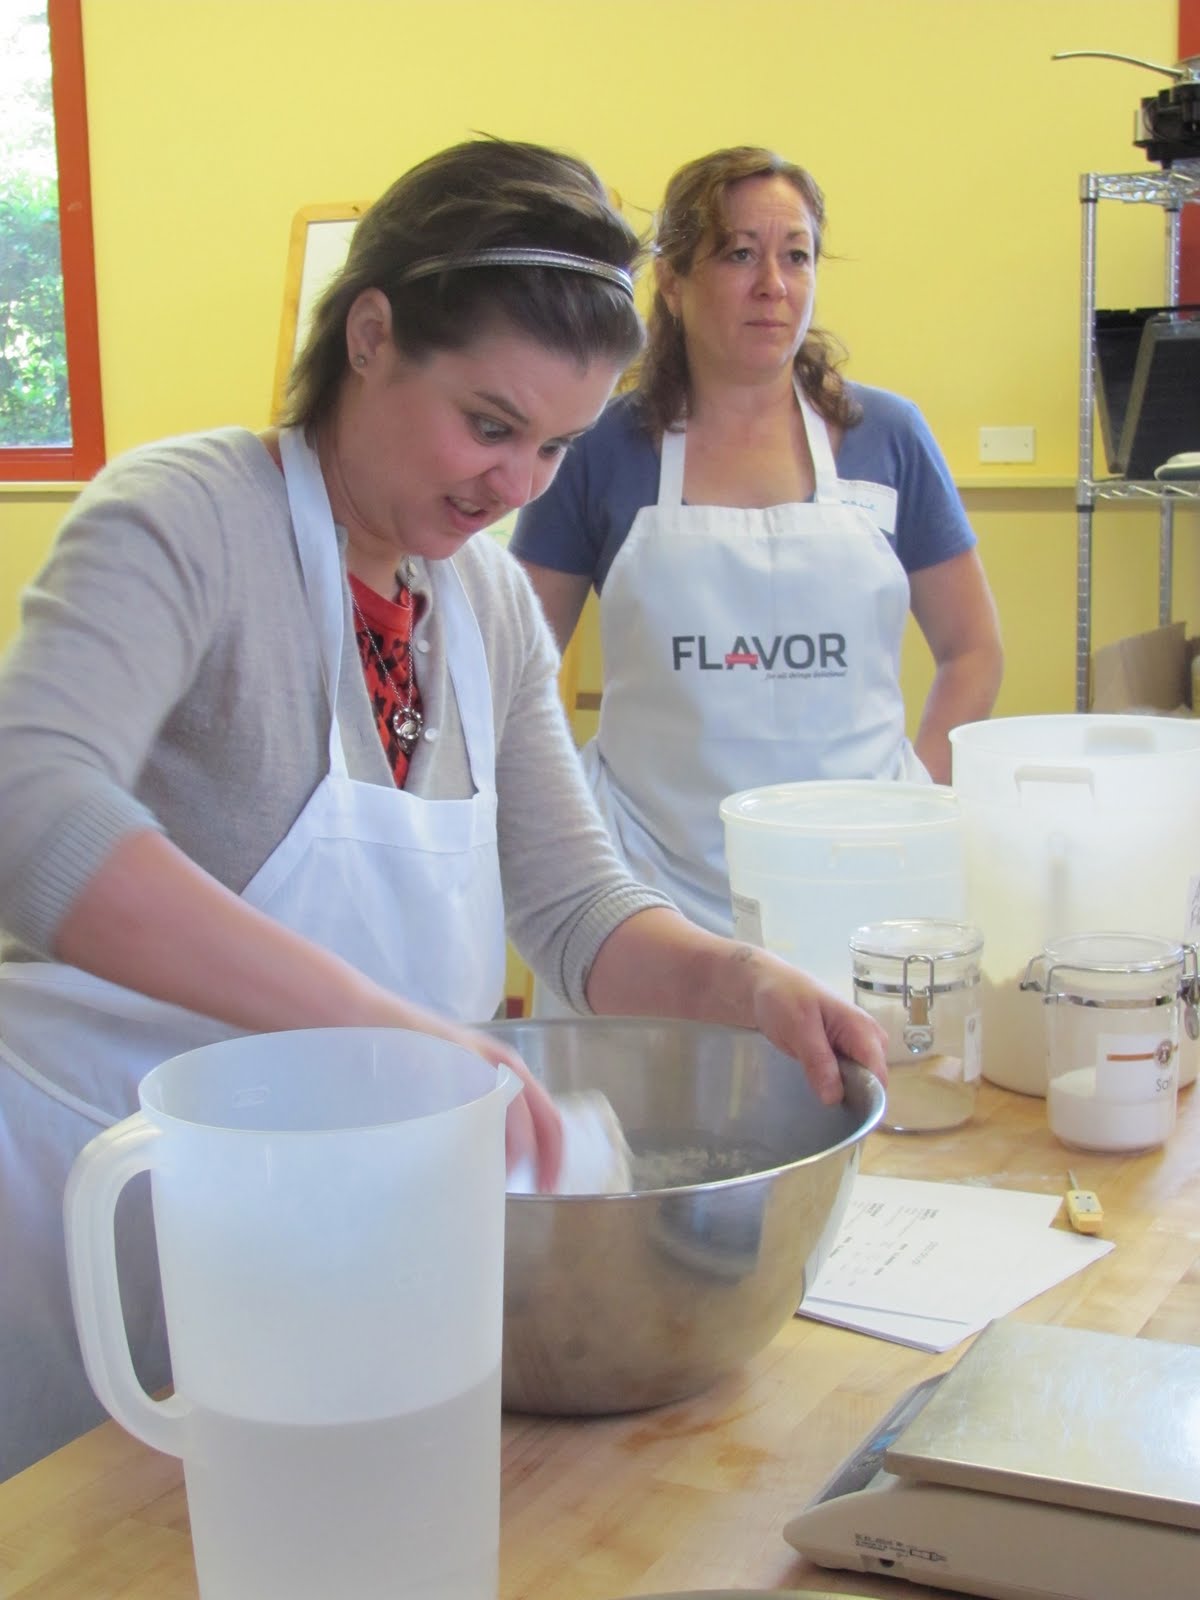
Smiling Jean Kerr from Northeast Flavor magazine was on my pizza-dough-making team (Go, Team Brilliance!). If you haven’t checked out the mag, do it. It’s beautiful.

Corin Hirsch, a friend and food writer at Vermont’s Seven Days, has her way with a mini-muffin. (Back story: KAF baking instructor Susan Reid encouraged us to “take as many nibbles as we can stand” from several batches of mini-muffins — each made with a different type of flour — to compare/contrast properties. … Susan said nothing about pushing muffins into our eye sockets.)

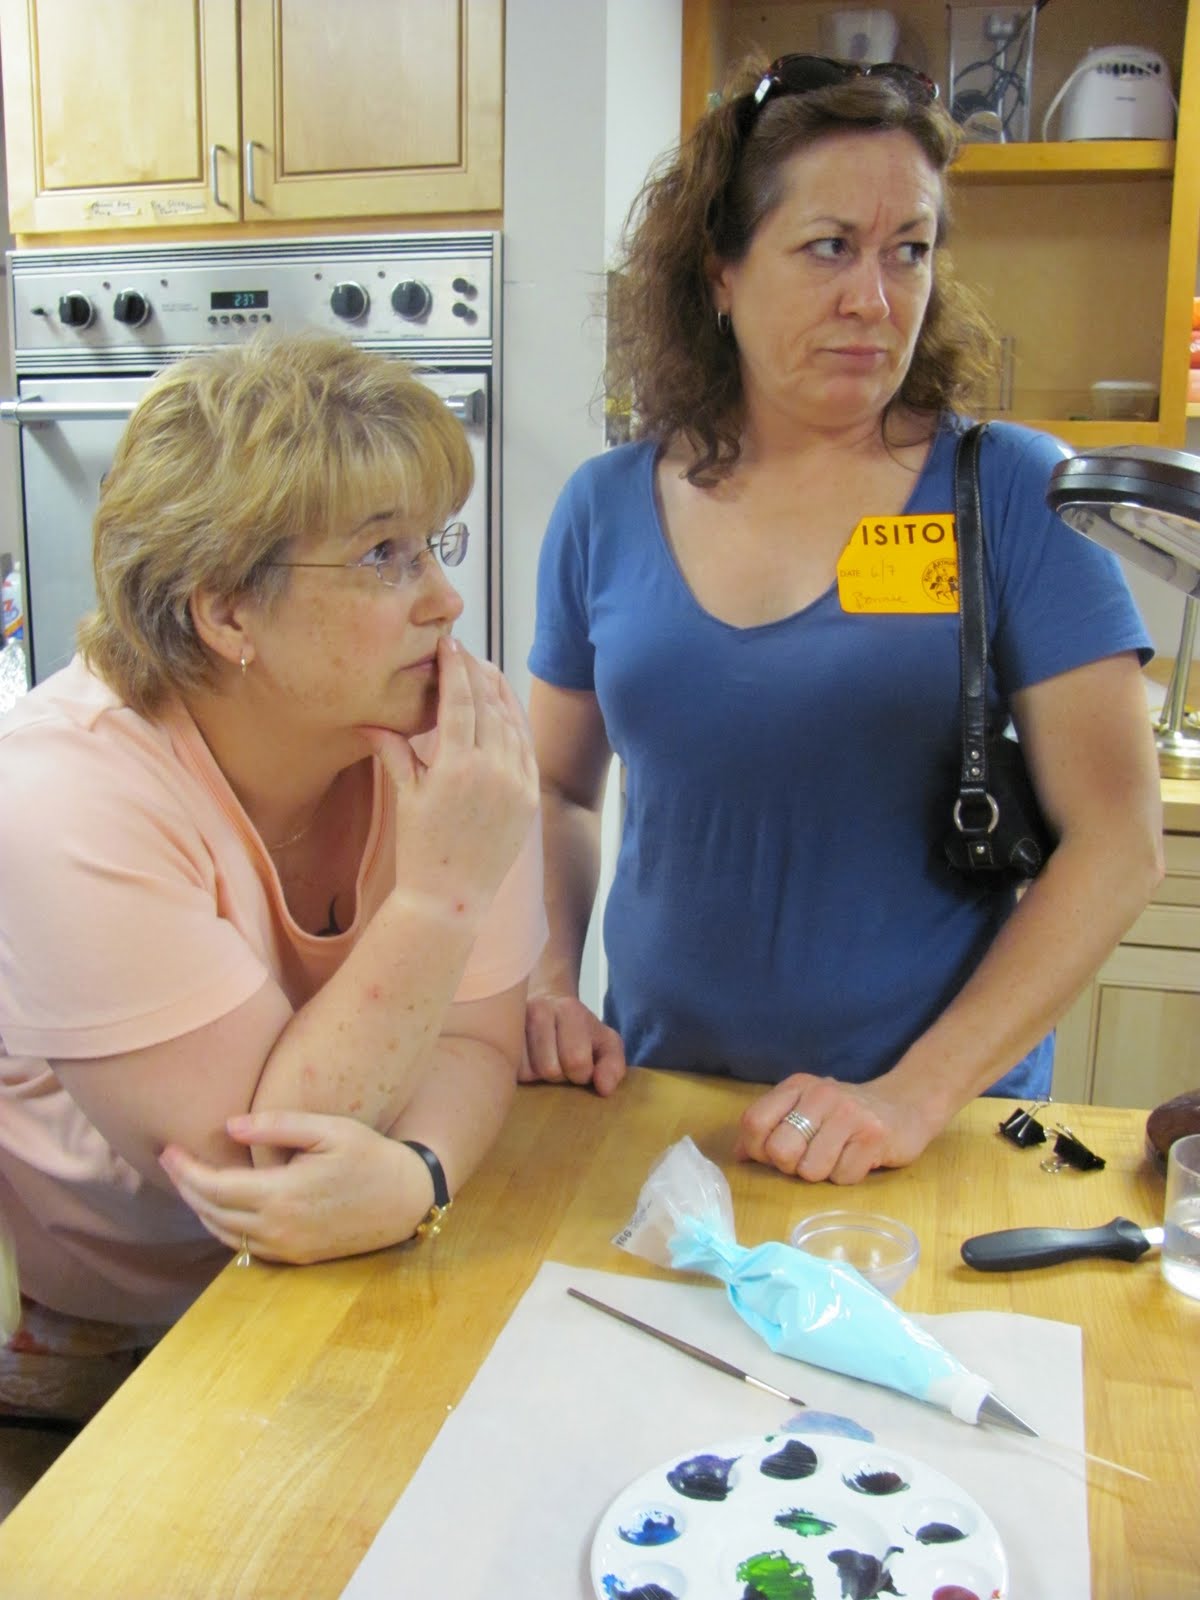
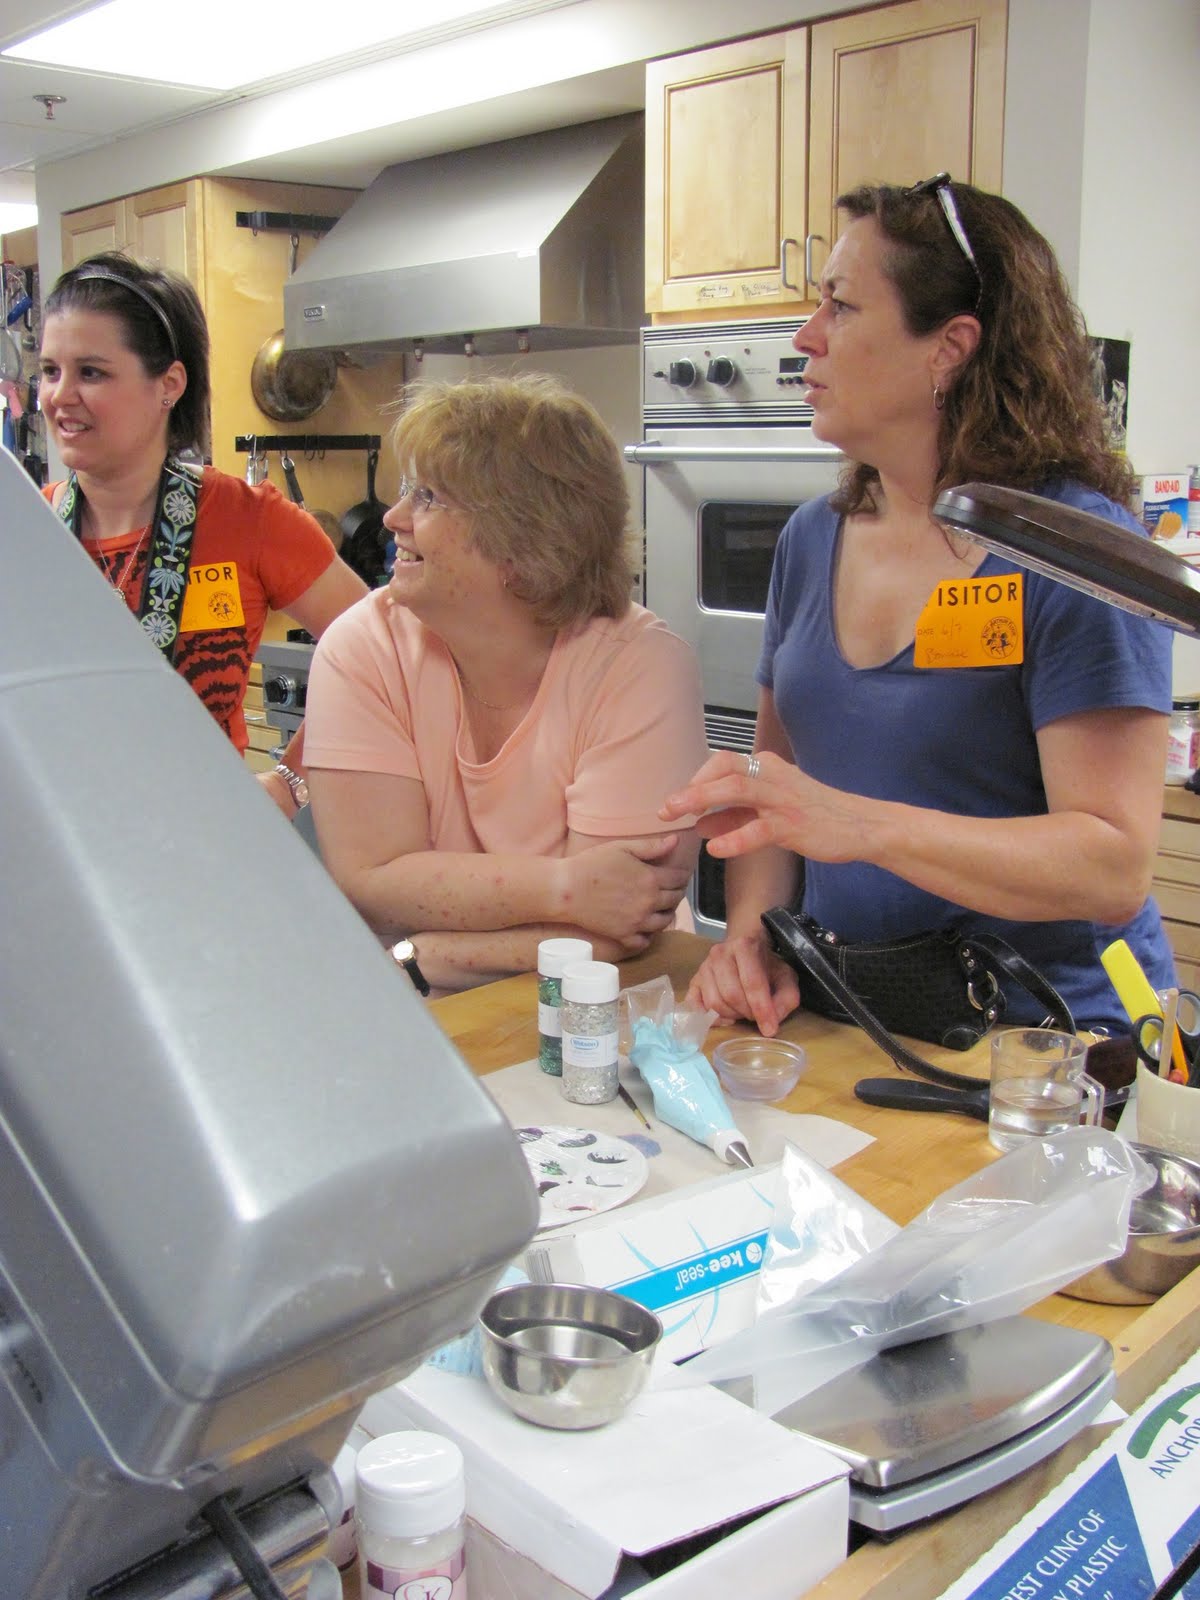
King Arthur Flour’s MaryJane and Northeast Flavor‘s Bonnie listen intently to … um, something … during a visit to the KAF test kitchen. MaryJane kicks booty on both the decorating and dinner conversation fronts. Bonnie kicks booty, too.

King Arthur Flour’s Robyn Sargent teaches us basic bread-baking skills during Day 1 of B&B. Robyn is an awesome teacher. Too bad I didn’t have Robyn for calculus in high school; it may have gone better …

Blogger Amber Bracegirdle portions out pizza dough. Amber is a Texan, married to a Brit, and now lives in Jersey. Amber gave us each a present of cookies on Day 1. Amber’s a sweetheart.

I’ve long been a fan of chef Sara Moulton. My fanaticism has only grown since Blog & Bake: she joined us for class (during which she kindly pointed out after surveying my braided bread that hers, too, was bulbous on one end — gotta love her); demonstrated how to make a scrumptious dinner; and feasted with us at the Norwich Inn, where the chefs did her menu proud.

Fellow New England bloggers Aimee and Fiona light up the room during Day 1 of Blog & Bake. (Some peeps knew each other before B&B; most didn’t. … Let no man put asunder what King Arthur Flour joined together.)

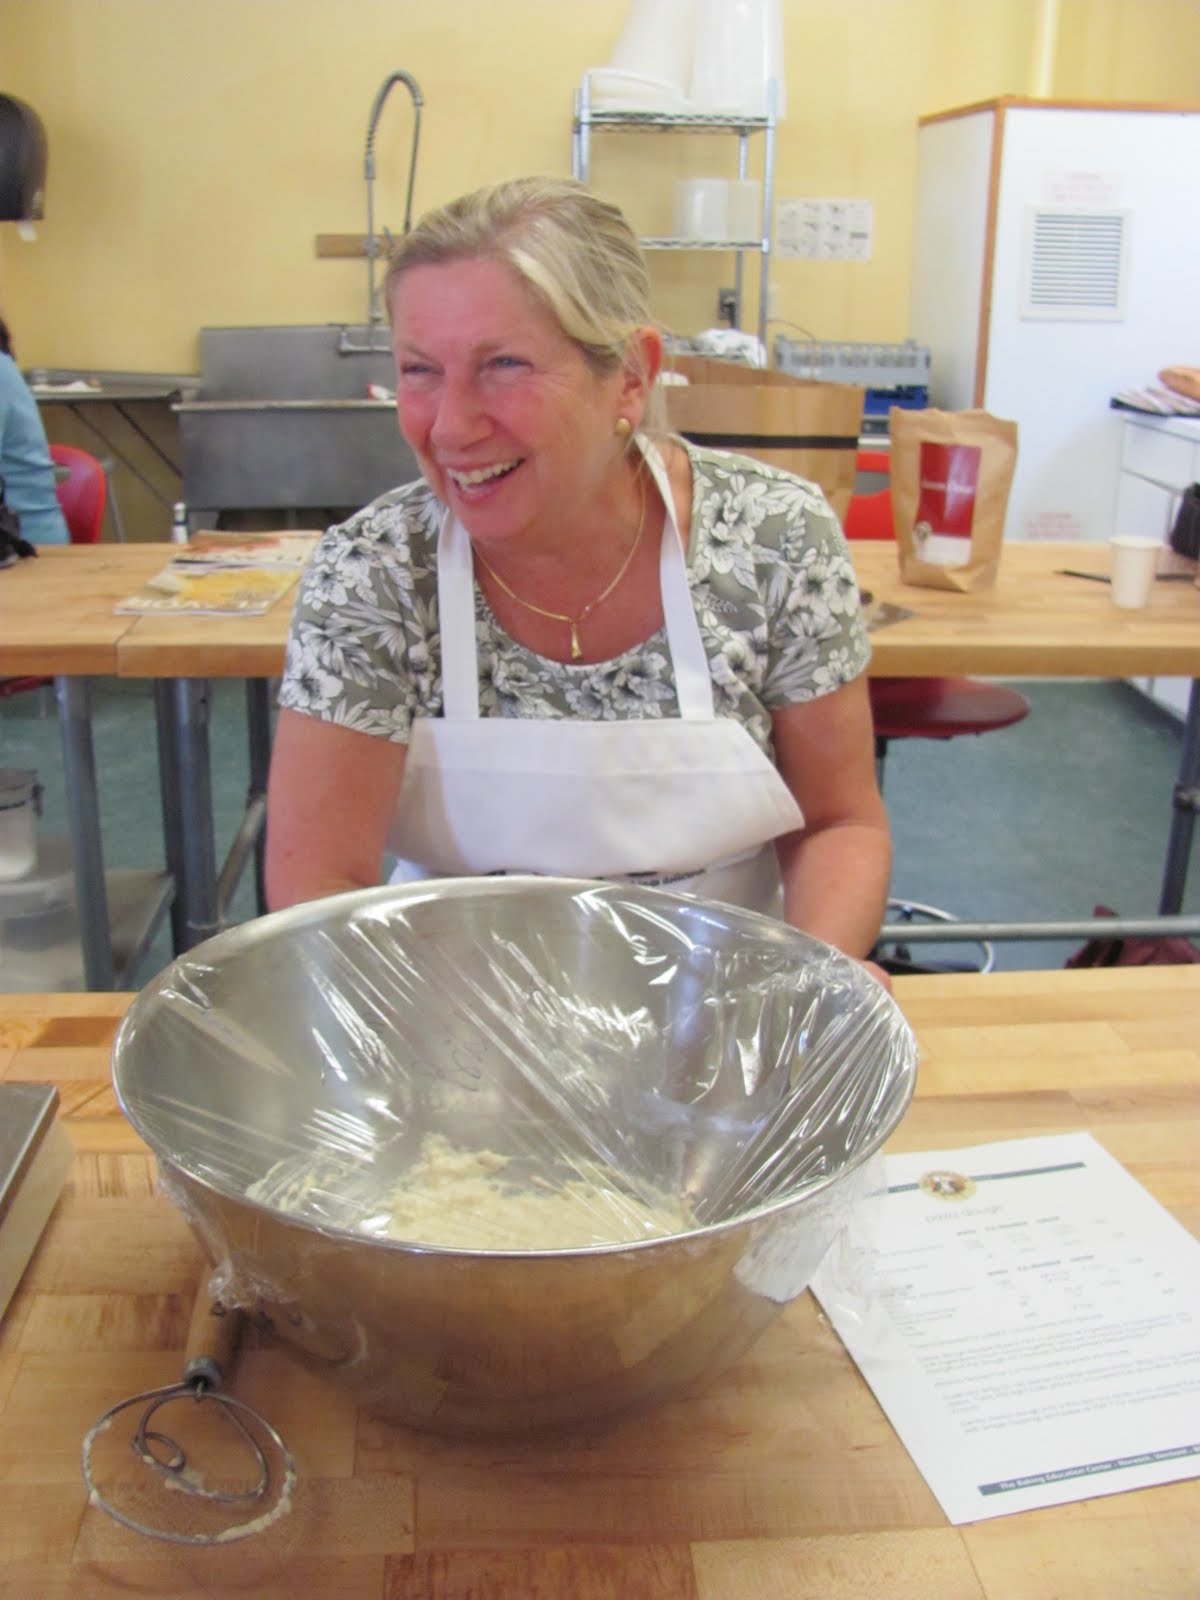
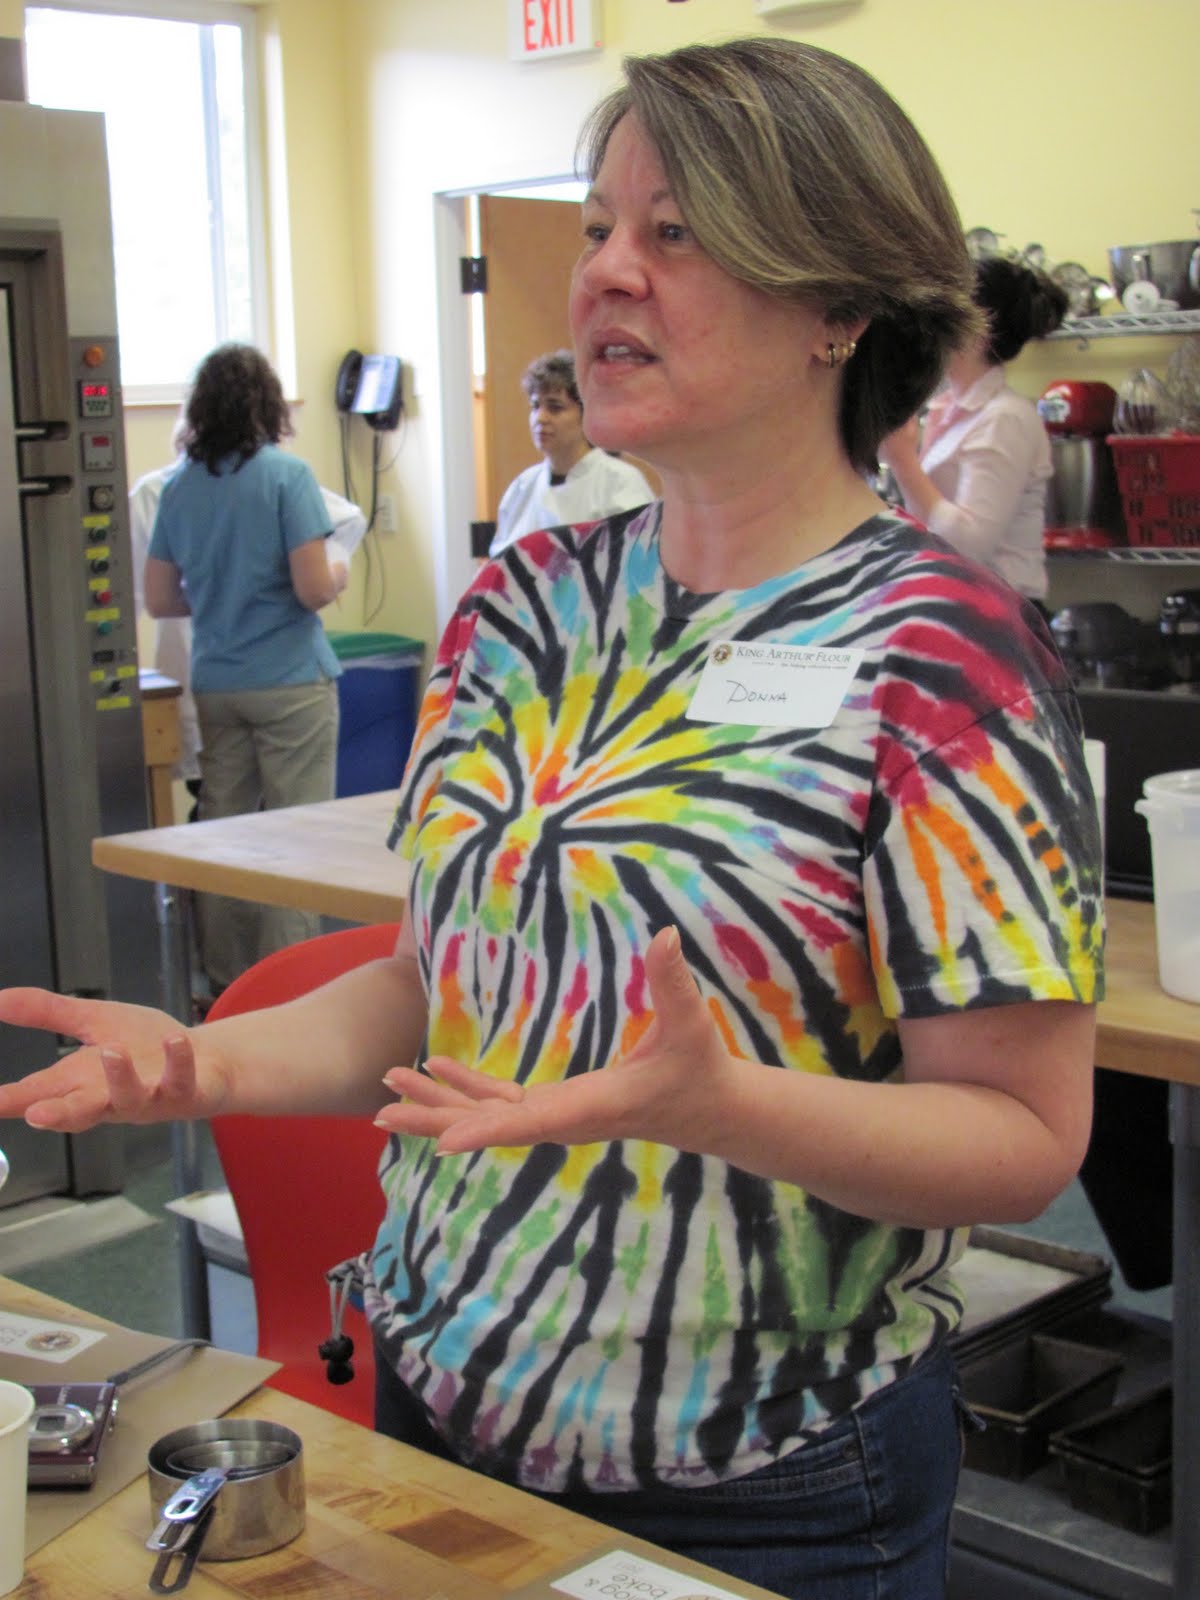
Meet Donna from Colorado. Donna and I sat together for much of B&B. Lovely though she is, Donna scared me at first with her breezy, seemingly effortless bread-baking skills. (I’m more slow and methodical.) Donna kicks serious booty.

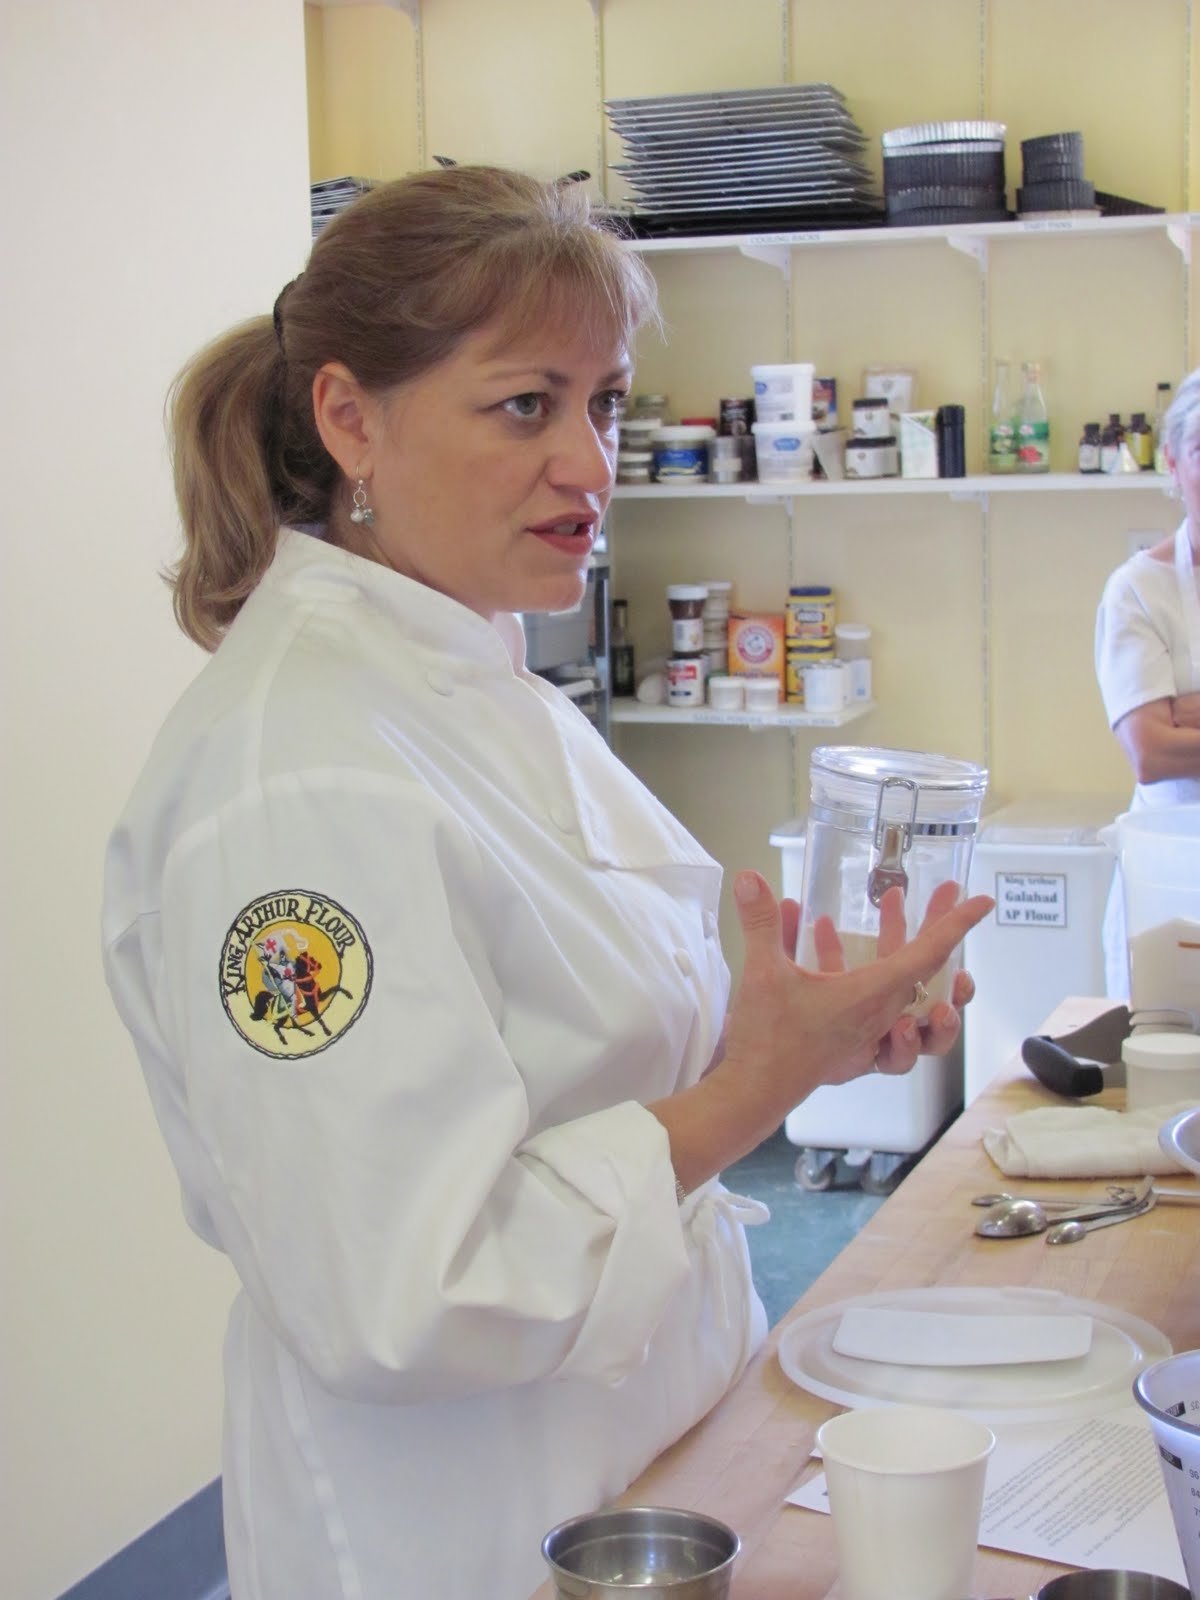
King Arthur Flour’s Susan Reid gives us the lowdown on flour — the types, the properties —while throwing in a few colorful stories. Susan knows how to have a good time while engaging her students. I mentioned “spunky” in the intro to this post. That’s Susan.

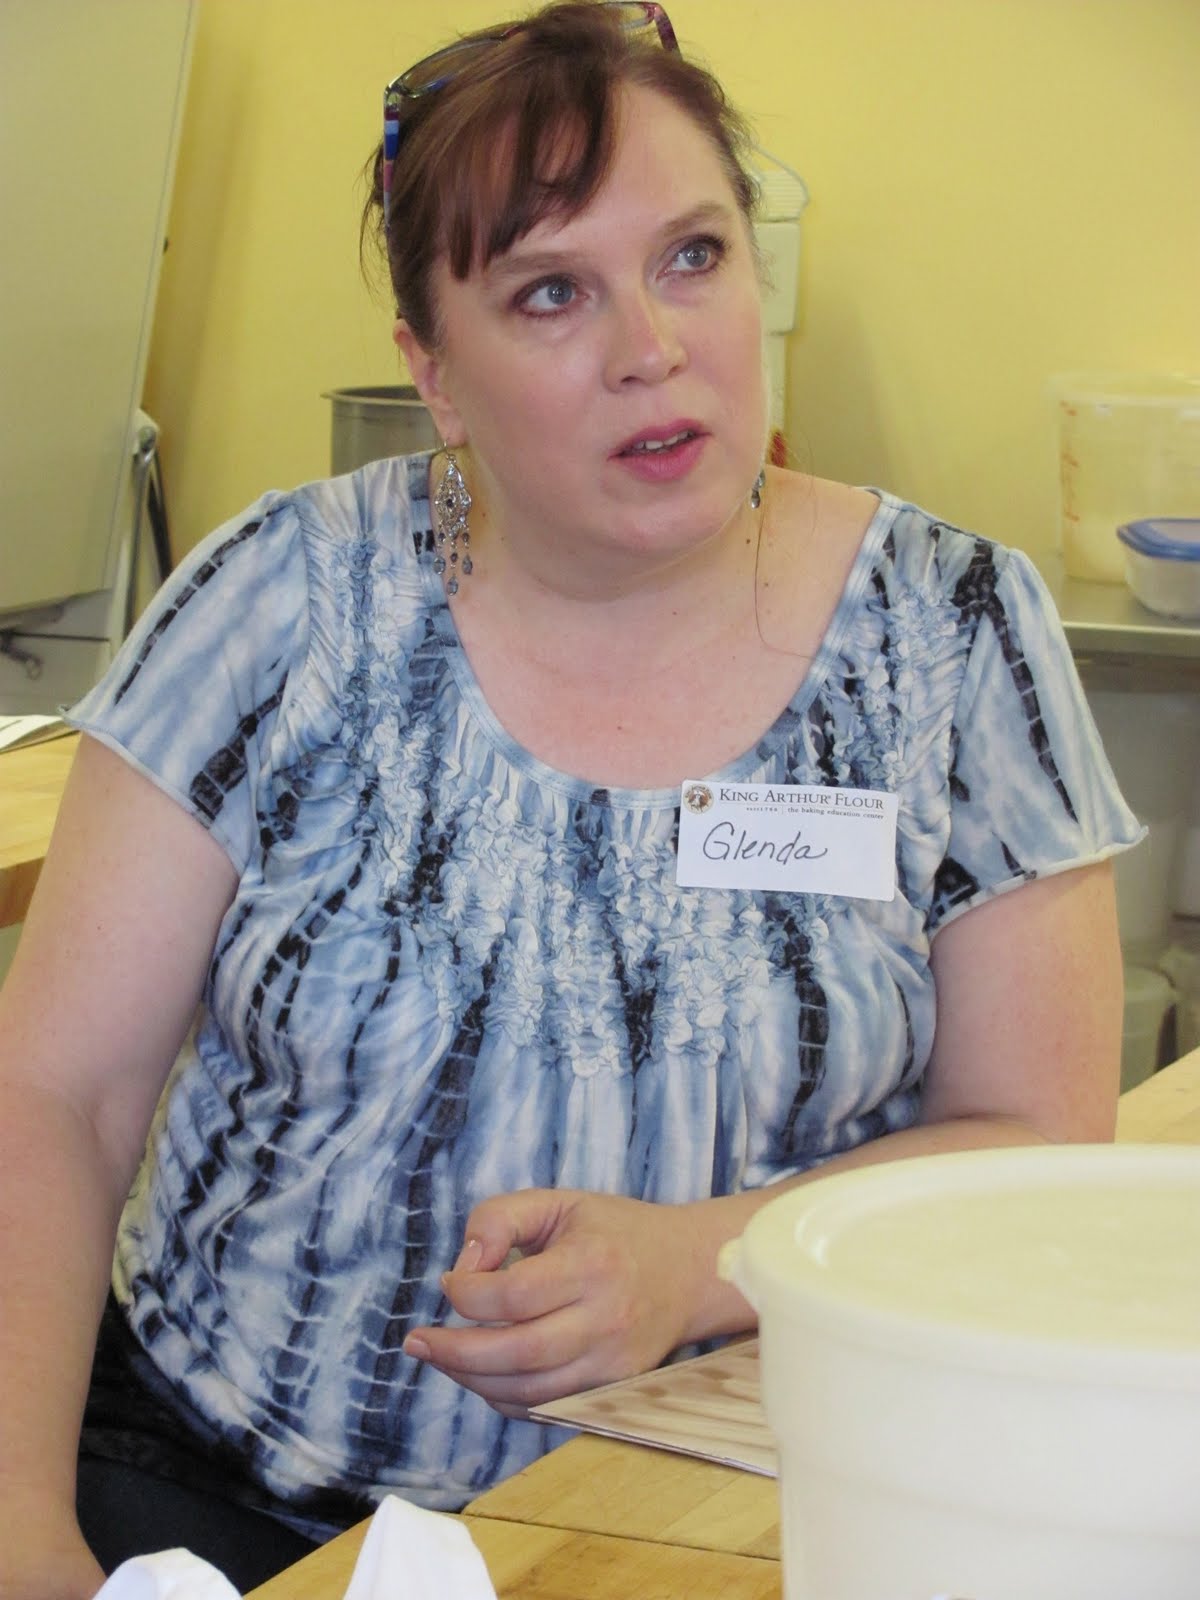
“Busy at Home” blogger Glenda chills out during coffee & pastries to kick off Day 1 of Blog & Bake. Glenda traveled from Nebraska for B&B.

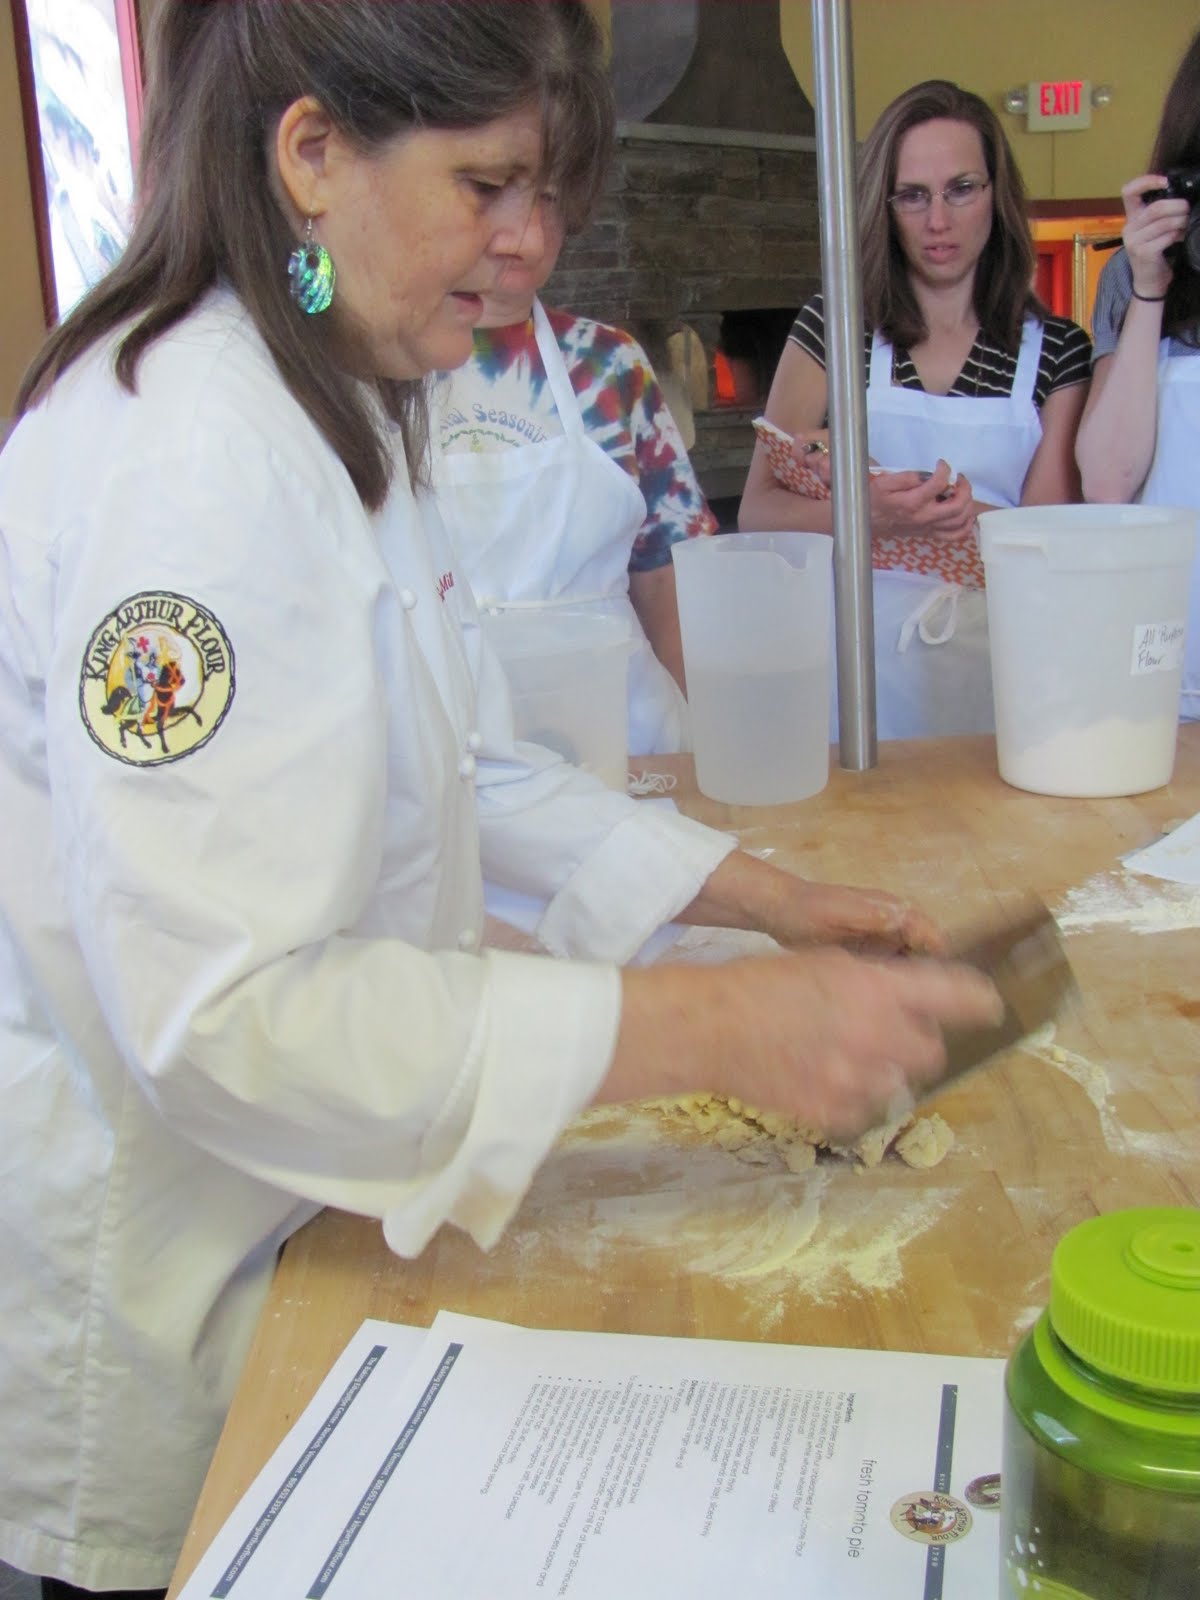
King Arthur Flour instructor Susan Miller pulls together pastry dough for KAF’s luscious Tomato Pie (more about this later). … Warm and funny, Susan also instructed us in making “poolish” for our pizza dough (more about that later) and pastry for our Strawberry-Rhubarb Tart (you guessed it, more later). … Oh, and last but not least, there’s Savor the Thyme’s Jennifer in the background, studiously checking out Susan’s method.

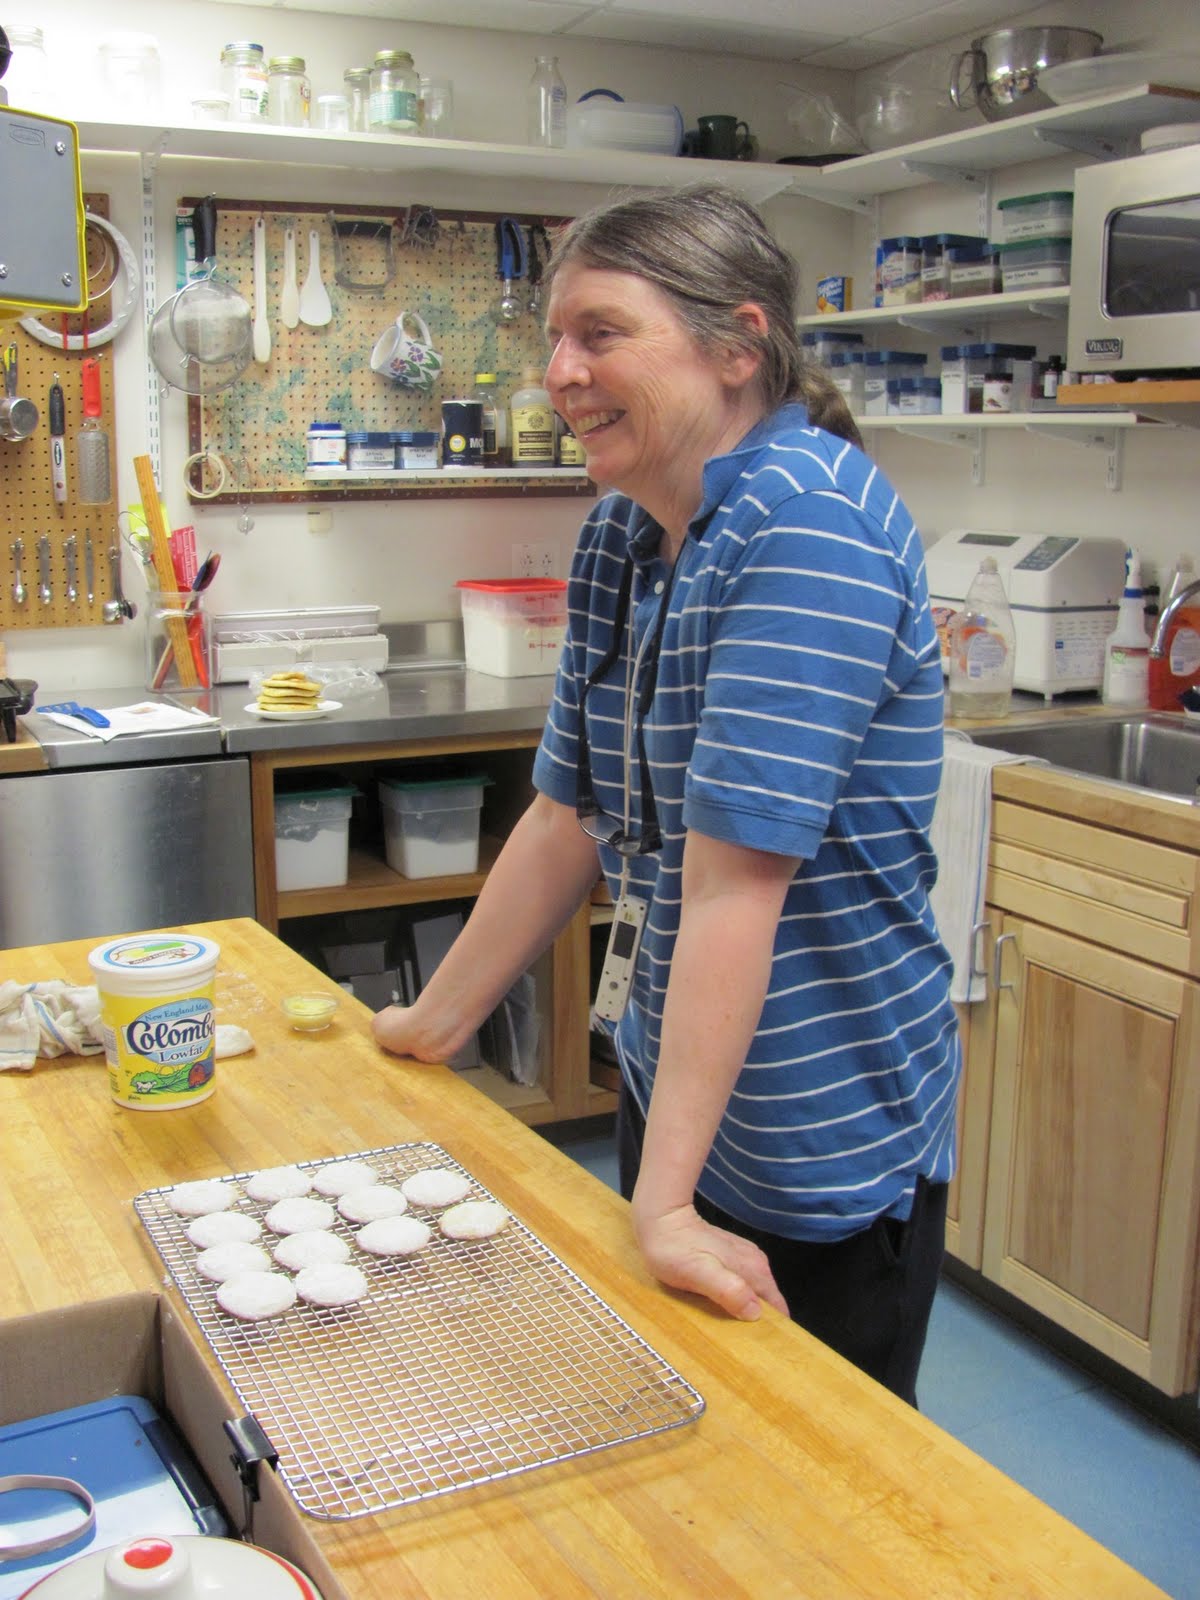
PJ doesn’t seem to mind when we interrupt as she puts the finishing touches on some lime cookies in the King Arthur Flour test kitchen on Day 2 of Blog & Bake. You probably know smiling PJ from KAF’s online community and blog. I nominate PJ for Best Smile at Blog & Bake 2011.

Writer/blogger Casey, KAF’s MaryJane and Northeast Flavor’s Bonnie hang in the test kitchen. My peeps!

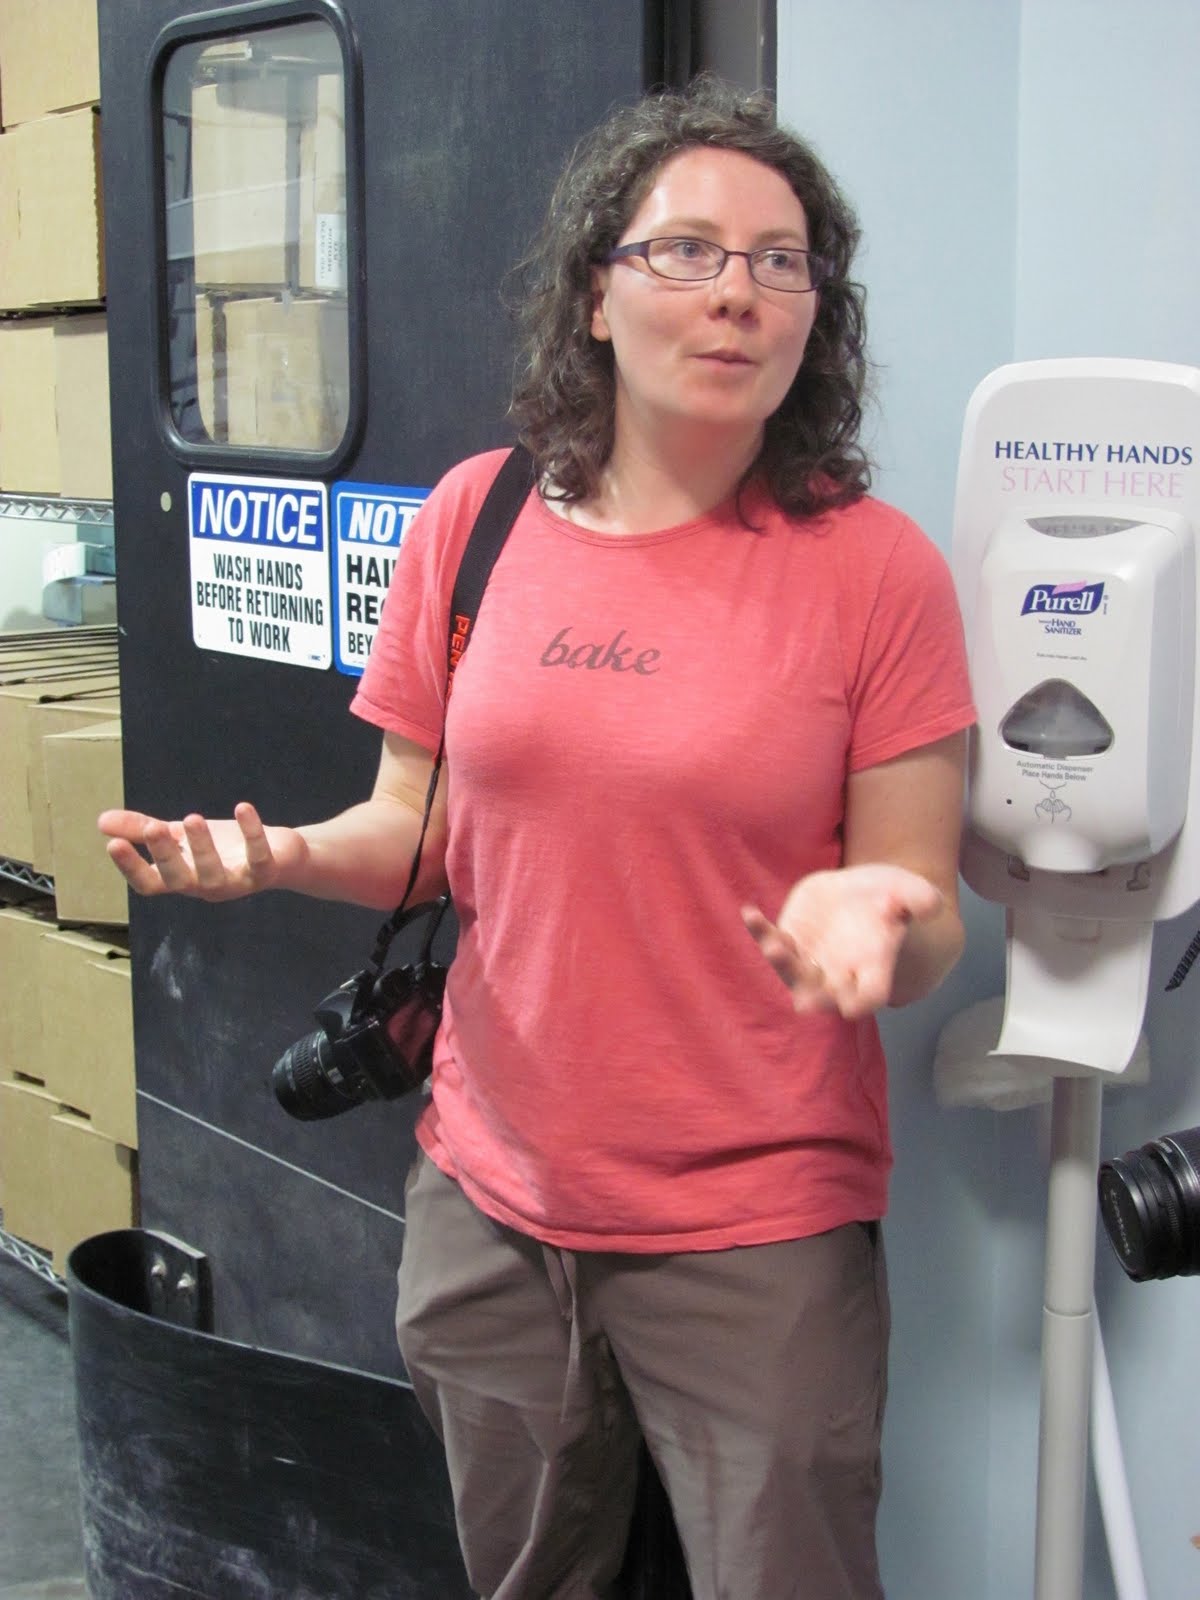
If you need a volunteer for something, anything, may I suggest the services of Casey Barber? She likes to get a job done. She speaks up when the rest of the room goes quiet. She has awesome facial expressions — and isn’t afraid to use them.

I hope you’ve enjoyed this glimpse into the people who brightened the last two days of my baking life. More posts (with lots more photos) are in the works, but now it’s time to wash my crusty-the-clown self. Until later, then.

Quick! Make Quick Bread!

What do you do when you have a bunch of fresh rhubarb and you’re not altogether sure, um, what to do with it? And those with whom you share close quarters tell you they don’t like rhubarb? Even strawberry-rhubarb pie? And you, upon gnawing on a stalk, wonder if you, too, don’t hate rhubarb?

You make quick bread, of course.

Diced and folded into a batter of brown sugar, fat, flour and homey spices, those celery-like stalks shine. They are still themselves (tart) but eaten within the trappings of quick bread, it was decided: We all love rhubarb.

Fresh rhubarb, thanks to a dear friend’s garden

Try this recipe if you’re unsure about rhubarb. Hell, try it even if you’ve never been more sure about anything in your life. This moist quick bread is soul-satisfying on its own, or over-the-top delicious lightly toasted and smeared with quick bread’s best friend forever: cream cheese.

Rhubarb Quick Bread
(adapted from a recipe I found in a little booklet titled “Old-Fashioned Bread Recipes,” published by Bear Wallow Books)
(recipe yields 2 standard-size loaves)
2/3 cup vegetable oil
1 1/2 cups brown sugar
1 large egg, lightly beaten
1 teaspoon vanilla
1 cup buttermilk
2 1/2 cups all-purpose flour
1 teaspoon cinnamon
1/4 teaspoon nutmeg
1 teaspoon salt
1 teaspoon baking soda
1 /1/2 cups fresh rhubarb, diced
1/2 cup pecans, chopped
Topping
1 tablespoon butter, melted
2 tablespoons granulated sugar

Preheat oven to 325 degrees. Grease two standard-size bread loaf pans.

In small bowl, sift together dry ingredients (flour, spices, salt and baking soda). Set aside.

In large bowl, mix oil, brown sugar, vanilla and beaten egg. Add buttermilk and mix until fully incorporated.

Fold dry ingredients into wet.

Gently fold in diced rhubarb and chopped pecans.

Pour batter into prepared pans.

Mix together melted butter and sugar for topping.

Drizzle topping over batter. (This step gives the top a nice crunch.)

Bake in preheated 325-degree oven for 45-55 minutes. Breads are done when toothpick inserted in center comes out gunge-free.

Leave in pans for about 5 minutes before transferring to wire racks to cool completely.

Eat.

Granny-esque Chewy Chocolate Cookies

Chewy Chocolate Cookies (the way my grandmother never made them)

I woke up today wanting to bake (and eat) a chewy chocolate cookie reminiscent of the old-fashioned, made-by-grandma, touch-of-molasses, sugared-exterior cookie of my imagination. See, neither of my grannies nor my mom ever made me chocolate cookies like these, but I know I had them somewhere.
So, with my mom’s chewy ginger cookie as a guide, I created my own darkly satisfying Chewy Chocolate Cookies, the ones I will make for the wee ones when I am a granny — or a great auntie, at least.
Chewy Chocolate Cookies
2 cups all-purpose flour
1/2 cup unsweetened cocoa
2 teaspoons baking soda
1/2 teaspoon salt
1/2 cup (1 stick) butter, softened
3/4 cup vegetable shortening (don’t usually partake of the stuff, but it works well here)
1 cup brown sugar
1/4 cup molasses
1 egg
1 teaspoon vanilla
4 ounces bittersweet chocolate, chopped to within an inch of its life (I massacred a Ghirardelli 70 percent bittersweet baking bar — seriously, you want bits more than chunks)
granulated sugar for rolling
Preheat oven to 350 degrees. Grease cookie sheets.
In small bowl, whisk together flour, cocoa, baking soda and salt. Set aside.
In large bowl, cream butter, shortening and brown sugar. Add molasses and vanilla. Beat in egg.
Add flour mixture in two batches until fully combined.
Stir in massacred bittersweet chocolate.
Form 1-inch (or so) balls of dough and roll them in granulated sugar. 
Place dough balls on prepared cookie sheets, leaving them room to groove.
Bake in preheated 350-degree oven for about 10 minutes.
Remove from oven and leave cookies on sheets for about a minute before transferring cookies to wire racks to cool completely.
Have a cookie binge, even if you told yourself you wouldn’t.

Love-My-Butt-the-Way-It-Is Bars

Coconut Chocolate Chip Bars (AKA Love-My-Butt-the-Way-It-Is Bars)

A word before we begin: if you’re having a Fat Day, a Beat-Myself-Up-Because-I-Am-Less-Than-Perfect Day or an I-Miss-My-Eating-Disorder Day, do me and yourself a favor and don’t make Coconut Chocolate Chip Bars. These bars don’t care about your insecurities or your body-image issues. They don’t care that you count fat grams or that you “try to eat healthy.” They only care about gobs of butter and cupfuls of toasted coconut and chocolate chip-age, which they know you will be hard-pressed to steer clear of …
On the other hand, these rich little numbers may be exactly what you need to snap out of your guilt-ridden funk. After all, food isn’t the enemy. Go the everything-in-moderation route and treat yourself once in a while.
Coconut Chocolate Chip Bars
(Cookie of the Week)
2 cups all-purpose flour
1/4 teaspoon salt (if using unsalted butter, use 1/2 teaspoon salt)
1 teaspoon baking powder
1/2 teaspoon cinnamon
1 cup butter, softened
1 1/2 cups light brown sugar, packed
2 1/2 teaspoons vanilla
2 eggs, lightly beaten
2 cups sweet, flaked coconut
2 cups semisweet or bittersweet chocolate chips
Preheat oven to 325 degrees. Grease a 9×13-inch pan and dust with cocoa powder.

Spread flaked coconut on another (ungreased) baking sheet. Toast in oven for 4-5 minutes, giving flakes a stir every 2 minutes or so, until light golden. Remove from oven and set aside to cool.
Turn oven up to 350 degrees.

In small bowl, whisk together flour, salt, baking powder and cinnamon. Set aside.

In large bowl, cream butter and sugar until fluffy. Add eggs and vanilla, mixing until just combined. Add dry ingredients in 2 batches until fully incorporated.

Stir in chocolate chips and cooled, toasted coconut. (Feel free to add nuts as well. I live with a no-nuts man, so I refrained.)

Spread dough into prepared pan and bake at 350 degrees for 25-28 minutes. Bars are fully cooked when inserted knife comes out clean.

Transfer pan to wire rack to cool completely. Cut into bars.

Have at least one gallon of milk on hand when you gobble up these chewy, gooey Coconut Chocolate Chip Bars.

Tart & Sweet

Cucumbers dressed in a simple vinaigrette

Did you grow up in the sticks? With a bountiful garden, the fruits of which your mom would pickle and preserve, lining your cellar stairs with Ball jars filled with juiciness? Pickled cucumbers? Beets? Jams and jellies?
I did.
Sadly, my garden isn’t what my mother’s was back in the day. I’m trying, but I have yet to reach the stage where I have bounty to pickle and preserve. I’m at the staring-at-the-rocky-soil-wondering-if-anything-tasty-will-come-of-it stage.
Anyway, if you have a few cucumbers kicking around, try this simple way of serving them. It might not remind you of your childhood, as it does me, but it’s a fast and refreshing way to pound some cukes.
(My mother cooked her vinaigrette on the stovetop, as I recall. And she didn’t call it vinaigrette. Adapted from The Moosewood Collective’s Moosewood Restaurant Low-Fat Favorites cookbook, this recipe is much simpler.)
Simple Cucumber Side
2 medium cucumbers, peeled (That is, peel them if they’re waxed. If not, do what you want with the peel; I used English cucumbers and left the skin on.)
1/4 cup apple cider vinegar
2 tablespoons granulated sugar
1/2 teaspoon salt
1/2 teaspoon ground dried mustard
fresh cracked pepper to taste
Slice cucumbers as thinly as you can (I used a mandoline slicer —handy dandy). Set aside.
Make vinaigrette: Whisk together all other ingredients. 
Add the cucumbers and toss enthusiastically to make sure all slices get coated. Serve immediately or refrigerate for later. (Be sure to give cucumbers a good toss before serving.)

The bigger your thumb, the better

Strawberry Thumbprints: Fruity jam loves a buttery cookie.

The title of this post is a tad misleading: I use a 1/2 teaspoon measure, not my thumb, to form the wells in my Strawberry Thumbprints. The choice is yours. I started out using my thumb — it did a fine job — but I like the uniformity achieved with a measuring spoon.
Anyway, thumb ramblings aside, you may have picked up on the fact that this is Love & Scraps’ Cookie of the Week, late as usual but still lovable. 
Strawberry Thumbprints are one of my all-time favorites: buttery cookie dough with a splash of citrus is the perfect complement to a fruity filling. I was in the mood for strawberry this go-round, but raspberry is also delicious in this cookie. Around the holidays, I like to add ground nuts to the dough. But I’ll tell you more about that, well … around the holidays.
Strawberry Thumbprints
1 cup (2 sticks) unsalted butter, softened
2/3 cup granulated sugar
2 large egg yolks
1 teaspoon vanilla extract
1 tablespoon orange juice
1 tablespoon orange zest (optional, but it makes a huge difference — be sure it is finely grated)
2 1/4 cups all-purpose flour
1 teaspoon baking powder
1/2 teaspoon salt (if using salted butter, use 1/4 teaspoon salt)
for filling, thoroughly mix the following two ingredients:
1/3 cup strawberry jam
1 tablespoon orange juice
Preheat oven to 350 degrees. Lightly grease two baking sheets.
In small bowl, whisk together dry ingredients (flour, salt and baking powder). Set aside.
In large mixing bowl, cream butter and sugar until fluffy.
Add vanilla, 1 tablespoon OJ, orange zest (if using) and egg yolks, and mix until incorporated.
Stir in dry ingredients a cup or so at a time. Do not over-mix dough.
Pinch off 1-inch nuggets of dough and gently shape into balls between the palms of your hands. Evenly space balls on prepared cookie sheets, 12 to a sheet.
Using your clean thumb OR a 1/2-teaspoon measure, form a well in the center of each ball. (Don’t get too crazy. You don’t want to press down too hard and end up touching bottom or with crack-riddled cookies [you know, like some of mine].)
Fill each well with about 1/4 teaspoon of jam mixture.
Bake cookies in preheated oven for about 18-20 minutes, rotating trays at about the 9-minute mark.
Cool cookies on wire racks.
Eat ’em up.