Coconut Love

Oatmeal Cookies with Toasted Coconut and Bittersweet Chocolate

I can’t seem to get enough of coconut these days, as evidenced by my recent posts for Pineapple Coconut Cream Pie and Love-My-Butt-the-Way-It-Is Bars — and by several extreme closeups of the stuff found on my digital camera.

I lust it.

And I lust it even more toasted (the coconut, that is, not me).

A pile of goodness, ready to be folded into oatmeal cookie dough.

So, given my lack of self-control when it comes to the white stuff and my surplus of old-fashioned rolled oats, I decided oatmeal cookies with toasted coconut were the way to go this week. They baked up chewy (in the middle) and crisp (along the edge) and after downing a few with a glass of cold milk, these swiftly became my favorite cookies. This week, anyway.

Oatmeal Cookies with Toasted Coconut
(adapted from Ghirardelli’s recipe for oatmeal chocolate chip cookies)

1 cup all-purpose flour
1 teaspoon baking soda
1/2 teaspoon salt
1 teaspoon cinnamon
1/4 teaspoon nutmeg

1 cup (2 sticks) butter, softened
3/4 cup packed brown sugar
1/2 granulated sugar
1 large egg, lightly beaten
1 1/2 teaspoons vanilla
3 cups old-fashioned rolled oats
2 cups bittersweet chocolate chunks
1 1/2 cups flaked coconut, toasted*

Preheat oven to 375 degrees.

In small bowl, whisk together flour, baking soda, spices and salt. Set aside.

In large bowl, cream butter and sugars until light and fluffy. Mix in vanilla and egg until just combined.

Add flour mixture, mixing to combine.

Stir in oats.

Fold in chocolate chips.

Gently fold in toasted coconut.

Drop by rounded tablespoon — I use a 1-inch scoop (I like ’em jumbo and uniformly jumbo at that) — onto ungreased, cool-to-the-touch cookie sheets.

Dough love. (Truth be told, I give the dough balls a smoosh with the back of the scoop after placing on the cookie sheet.)

Bake for 8-11 minutes, depending on how chewy or crispy you like your cookies.

Let cool for about a minute on the cookie sheets, then transfer to wire racks to cool completely.

Eat.

(*To toast coconut, spread flakes evenly on ungreased cookie sheet and bake in 375-degree oven for about 5 minutes, giving the flakes a toss every couple of minutes. Let cool completely before using in recipe.)

Granny-esque Chewy Chocolate Cookies

Chewy Chocolate Cookies (the way my grandmother never made them)

I woke up today wanting to bake (and eat) a chewy chocolate cookie reminiscent of the old-fashioned, made-by-grandma, touch-of-molasses, sugared-exterior cookie of my imagination. See, neither of my grannies nor my mom ever made me chocolate cookies like these, but I know I had them somewhere.
So, with my mom’s chewy ginger cookie as a guide, I created my own darkly satisfying Chewy Chocolate Cookies, the ones I will make for the wee ones when I am a granny — or a great auntie, at least.
Chewy Chocolate Cookies
2 cups all-purpose flour
1/2 cup unsweetened cocoa
2 teaspoons baking soda
1/2 teaspoon salt
1/2 cup (1 stick) butter, softened
3/4 cup vegetable shortening (don’t usually partake of the stuff, but it works well here)
1 cup brown sugar
1/4 cup molasses
1 egg
1 teaspoon vanilla
4 ounces bittersweet chocolate, chopped to within an inch of its life (I massacred a Ghirardelli 70 percent bittersweet baking bar — seriously, you want bits more than chunks)
granulated sugar for rolling
Preheat oven to 350 degrees. Grease cookie sheets.
In small bowl, whisk together flour, cocoa, baking soda and salt. Set aside.
In large bowl, cream butter, shortening and brown sugar. Add molasses and vanilla. Beat in egg.
Add flour mixture in two batches until fully combined.
Stir in massacred bittersweet chocolate.
Form 1-inch (or so) balls of dough and roll them in granulated sugar. 
Place dough balls on prepared cookie sheets, leaving them room to groove.
Bake in preheated 350-degree oven for about 10 minutes.
Remove from oven and leave cookies on sheets for about a minute before transferring cookies to wire racks to cool completely.
Have a cookie binge, even if you told yourself you wouldn’t.

Love-My-Butt-the-Way-It-Is Bars

Coconut Chocolate Chip Bars (AKA Love-My-Butt-the-Way-It-Is Bars)

A word before we begin: if you’re having a Fat Day, a Beat-Myself-Up-Because-I-Am-Less-Than-Perfect Day or an I-Miss-My-Eating-Disorder Day, do me and yourself a favor and don’t make Coconut Chocolate Chip Bars. These bars don’t care about your insecurities or your body-image issues. They don’t care that you count fat grams or that you “try to eat healthy.” They only care about gobs of butter and cupfuls of toasted coconut and chocolate chip-age, which they know you will be hard-pressed to steer clear of …
On the other hand, these rich little numbers may be exactly what you need to snap out of your guilt-ridden funk. After all, food isn’t the enemy. Go the everything-in-moderation route and treat yourself once in a while.
Coconut Chocolate Chip Bars
(Cookie of the Week)
2 cups all-purpose flour
1/4 teaspoon salt (if using unsalted butter, use 1/2 teaspoon salt)
1 teaspoon baking powder
1/2 teaspoon cinnamon
1 cup butter, softened
1 1/2 cups light brown sugar, packed
2 1/2 teaspoons vanilla
2 eggs, lightly beaten
2 cups sweet, flaked coconut
2 cups semisweet or bittersweet chocolate chips
Preheat oven to 325 degrees. Grease a 9×13-inch pan and dust with cocoa powder.

Spread flaked coconut on another (ungreased) baking sheet. Toast in oven for 4-5 minutes, giving flakes a stir every 2 minutes or so, until light golden. Remove from oven and set aside to cool.
Turn oven up to 350 degrees.

In small bowl, whisk together flour, salt, baking powder and cinnamon. Set aside.

In large bowl, cream butter and sugar until fluffy. Add eggs and vanilla, mixing until just combined. Add dry ingredients in 2 batches until fully incorporated.

Stir in chocolate chips and cooled, toasted coconut. (Feel free to add nuts as well. I live with a no-nuts man, so I refrained.)

Spread dough into prepared pan and bake at 350 degrees for 25-28 minutes. Bars are fully cooked when inserted knife comes out clean.

Transfer pan to wire rack to cool completely. Cut into bars.

Have at least one gallon of milk on hand when you gobble up these chewy, gooey Coconut Chocolate Chip Bars.

Forget perfection. We want cake.

Old-fashioned Milk Chocolate Layer Cake liberally and imperfectly frosted 
with rich-yet-mellow Chocolate Buttercream.

This cake, in all its humble glory, is my gift to someone I love on his birthday. 
This cake is not about being a show-stopper.
This cake looks — and more importantly, tastes — like a cake. It does not look like a truck. Or a plane. Or a skyscraper. Or a stadium.
And therefore, this cake is not filled with or supported by non-cake-like elements popular on cake-decorating TV programs: PVC pipe, wooden dowels, rice-krispie-treat mounds and edible clay worked into any number of shapes in the sweaty palms of the competitors.
No, this cake is honest-to-goodness cake — made with butter, sugar, milk, chocolate, eggs and flour. And more chocolate. And more butter. Its layers are slightly uneven and the frost job is generous and imperfect.
In other words, this is how cake should be. In my book, anyway.
Milk Chocolate Layer Cake with Chocolate Buttercream
for the cake:
2 ounces unsweetened chocolate
3 tablespoons water
2 1/4 cups granulated sugar

3/4 cup (1 1/2 sticks) butter, softened
1 1/2 teaspoons vanilla
4 eggs, separated
1 cup whole milk
2 1/4 cups all-purpose flour
1 teaspoon cream of tartar
1/2 teaspoon salt
1/2 teaspoon baking soda

cocoa powder for dusting pans

for the buttercream:
7 ounces bittersweet or semisweet chocolate, melted (I used a combination of bittersweet and semisweet.)
3/4 cup (1 1/2 sticks butter, softened)
3 cups confectioners’ sugar
splash of vanilla
3-5 tablespoons whole milk

Preheat oven to 350 degrees.

Grease two 8-inch layer cake pans; dust pans with cocoa powder. Set pans aside.

Whisk together flour, baking soda, cream of tartar and salt. Set aside.

Combine 3 tablespoons water with unsweetened chocolate and microwave until melted. Be careful not to burn. (I microwave for about 15 seconds a clip and give chocolate a good stir every time I check the bowl.) Once melted, set chocolate aside.

Cream butter and granulated sugar in bowl of stand mixer for 4-5 minutes.

Meanwhile, beat 4 egg WHITES in separate bowl until fluffy white clouds. Set whites aside.

Add vanilla and 4 egg yolks to bowl with butter/sugar, mixing to combine. Stir in melted chocolate.

Add flour mixture to the party alternately with milk, mixing to combine.

Fold beaten egg whites into batter until thoroughly combined.

Pour batter into prepared layer cake pans and bake in preheated oven for 45-50 minutes. Cakes are done when sides pull away from edge of pans and cake tester (or toothpick) comes out clean after inserted into center of cake.

Place cakes (still in their pans) on wire rack to cool for about 10 minutes. Then invert cakes onto rack and let cool completely before frosting.

For the Chocolate Buttercream:
Beat softened butter with confectioners’ sugar for at least 5 minutes, scraping down sides of bowl every so often.

Add vanilla, melted chocolate and milk (a tablespoon or two at a time — honestly, I didn’t measure) and continue beating (like you mean it) — and continuously scraping down sides of bowl to catch any globular goodness — until you have a fluffy, spreadable, super-delicious buttercream.

Frosting the layers:
Lay 4 strips of parchment paper or aluminum foil on cake plate, where the edges of the first cake layer will rest. (You will remove these strips post-frosting.)

Place one cake layer atop strips.

Dollop a modest scoop of buttercream onto the layer, frosting in broad strokes to seal up any wayward crumb-age, then dollop a a generous scoop and liberally frost layer.

Place second cake layer atop first. Frost the top generously before frosting the sides of the cake. Don’t be stingy. Use all the buttercream to adorn the cake, swirling in carefree strokes as you go. (Again, this cake is not about perfection. The layers are not perfectly even, and the frosting shouldn’t be, either.)

Remove the strips of parchment.

Gobble up a slice of moist perfection with a tall, icy glass of milk.

Lazy Sunday Cream Scones

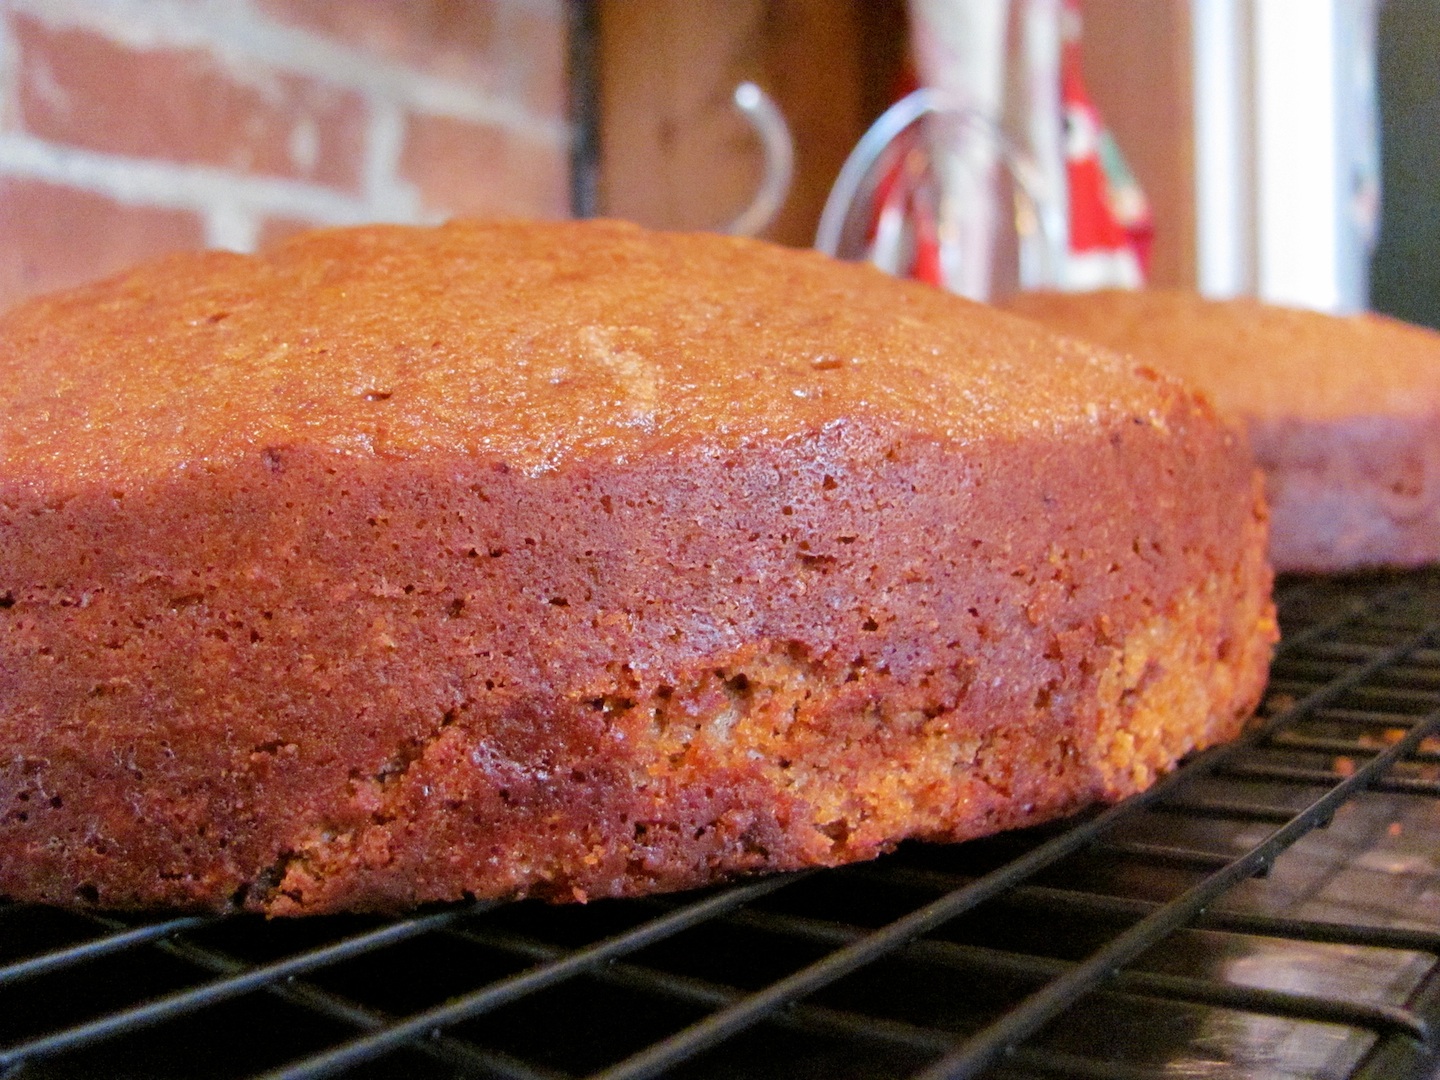
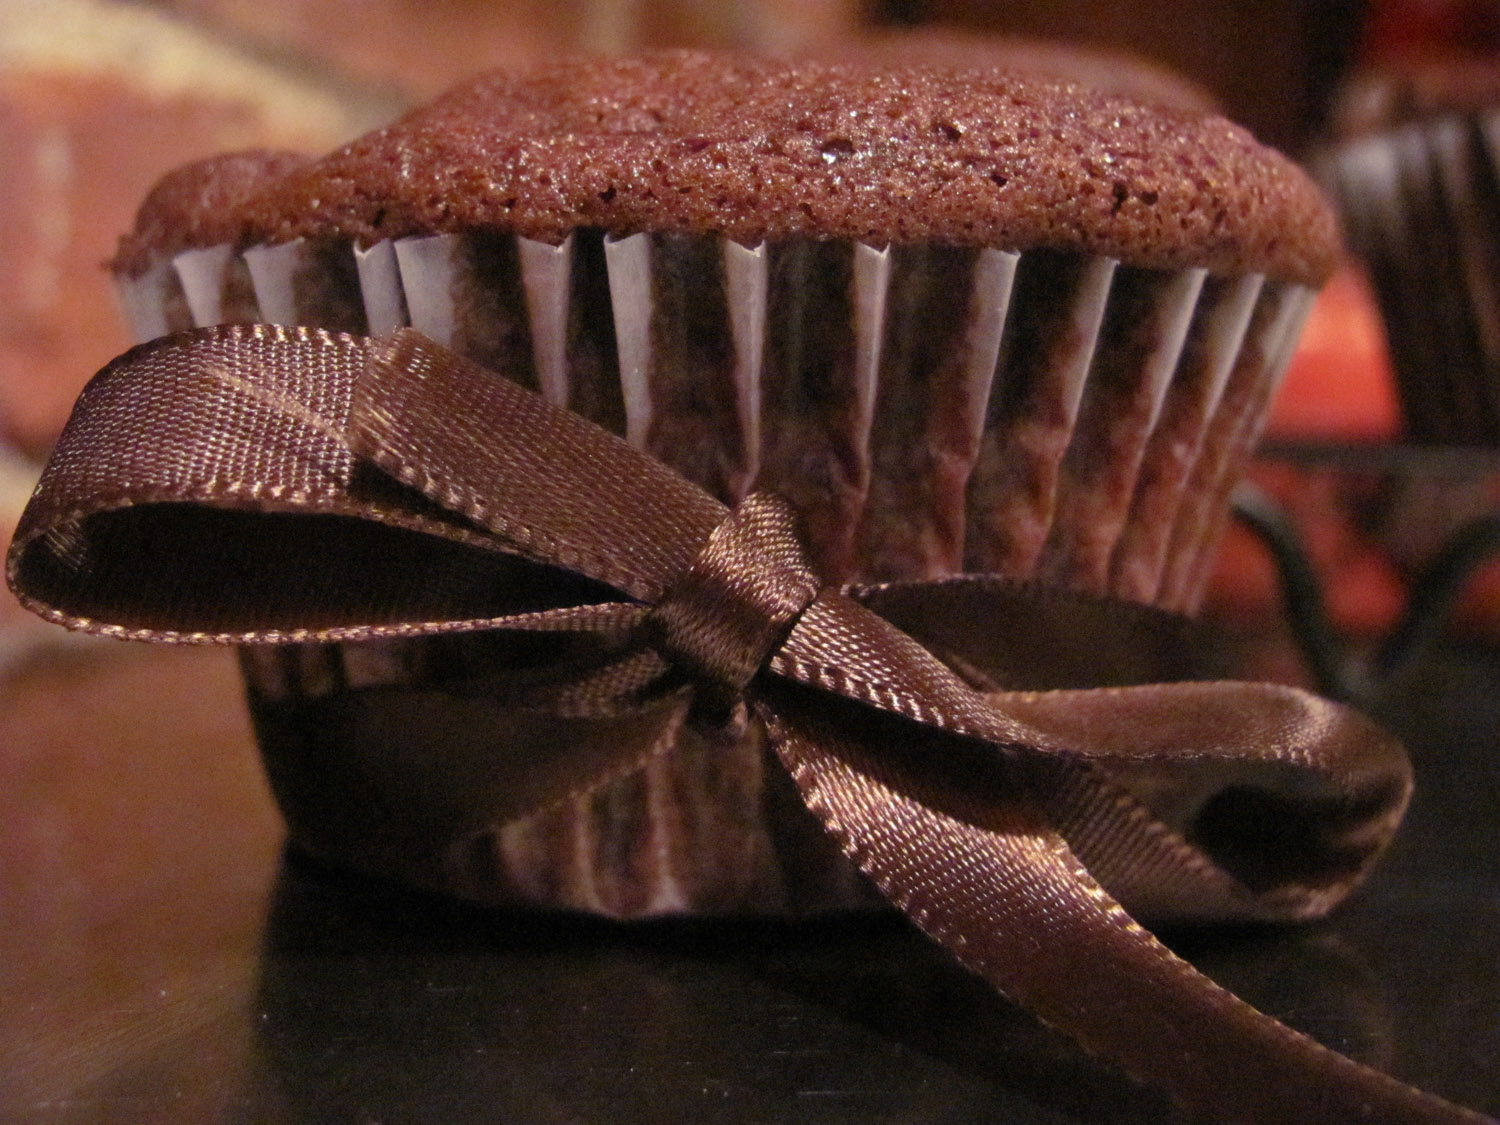
Still warm from the oven.

I’ve always romanticized the rituals of tea making and tea taking. I have in my possession books that cover tea equipment and tea etiquette; tea history and tea customs; as well as, of course, old-school recipes (or “receipts”) for tea-friendly vittles, savory and sweet. My texts are riddled with delightful quotes like this gem: “I must further advise you, Harriett, … not to heap such mountains of sugar into your tea, nor to pour such a deluge of cream in; people will certainly take you for the daughter of a dairymaid.” —from “The Fool of Quality,” c. 1766-1770, reprinted in “A Dish of Tea: Recipes, History and Etiquette from Connor Prairie Museum.”

Poor Harriett.

A favorite teapot. It belonged to my grandmother, then my mother, and now me.
Both high-octane and herbal teas fill the first shelf of our kitchen’s most frequented cupboard, and tea has replaced coffee as my beverage of choice (for those of you who knew me in my all-day-coffee-swilling years, you may have read this in disbelief, but it’s true). But, sadly, for all of my romantic ideas regarding tea parties — and a collection of accouterments to make those tea parties even more smashing — I have yet to host an afternoon tea with guests beyond our own household. Why can’t I pull this off? I ask myself. When will I get it together? When will I finally use those oh-so-precious teapot placecard-holders purchased years ago at Crabtree & Evelyn for a not-so-bargain price?

Well, maybe I like the idea of a polite tea soiree more than the reality of what is apt to ensue should I embark on such a course. After all, my mother and her longtime friend Joan often enjoyed tea in the afternoon at our house, and these teas were anything but the proper affairs of my imagination: they drank their tea from sturdy mugs (forget dainty teacups) and left their mark with pinky-red lipstick; they didn’t nibble on dainty vittles (didn’t nibble on anything, as I recall); and there were, on several occasions, in these years before my mom finally gave them up for good … cigarettes. Sometimes, I sat at the kitchen table with them, eavesdropping and dodging second-hand smoke, but Joan wouldn’t tolerate this for long. Maryellen, why don’t you go find something to do? Your mother and I are trying to talk. Joan was not to be trifled with.

Anyway, beyond actual tea consumption, the only tea-related ritual I partake in at my house on a somewhat regular basis is the baking of scones. Unlike Joan and my mother, I like a nibble or two, or 10, with my tea. And there’s nothing easier or faster to make to satisfy my desire for a nibble than cream scones: tender, light and fluffy on the inside; a little crunch on the outside, thanks to a brush of cream and sprinkling of coarse sugar; and a not-too-sweet vehicle for butter and jam, lemon curd, whatever one fancies.

This recipe is as straightforward as it gets — no butter involved, just heavy cream — and the flaky scones are delicious plain or perked up with a cup of dried cherries, cranberries, blueberries (with lemon zest), or a handful of bittersweet chocolate chunks (the route I went today as that’s what I had on hand).

Lazy Sunday Cream Scones
(Yield: about 8 scones)

2 cups all-purpose flour
1 tablespoon baking powder
2-3 teaspoons granulated sugar
1 teaspoon salt
1 cup dried fruit, nuts or chocolate chunks (optional)
1 1/4 cups heavy cream

additional cream (or milk) for brushing (optional)
coarse sugar for sprinkling (optional)

Preheat oven to 425 degrees.

Sift dry ingredients into large bowl.

Stir in dried fruit, nuts or chocolate (if using, and yes, do this before adding cream).

Slowly mix in heavy cream (by hand) until dough is formed.

Roll or pat dough into a round on a lightly floured board. Cut into circles using round biscuit cutter or cut into triangles using a sharp knife.

Place scones on ungreased baking sheet, leaving each of them a few inches to groove.

Brush lightly with additional heavy cream or milk and sprinkle with coarse sugar (I use sanding sugar, but straight-up granulated is fine).

Bake in preheated 425-degree oven for about 15 minutes, rotating tray halfway through cooking time.

Remove scones from pan and cool on wire rack.

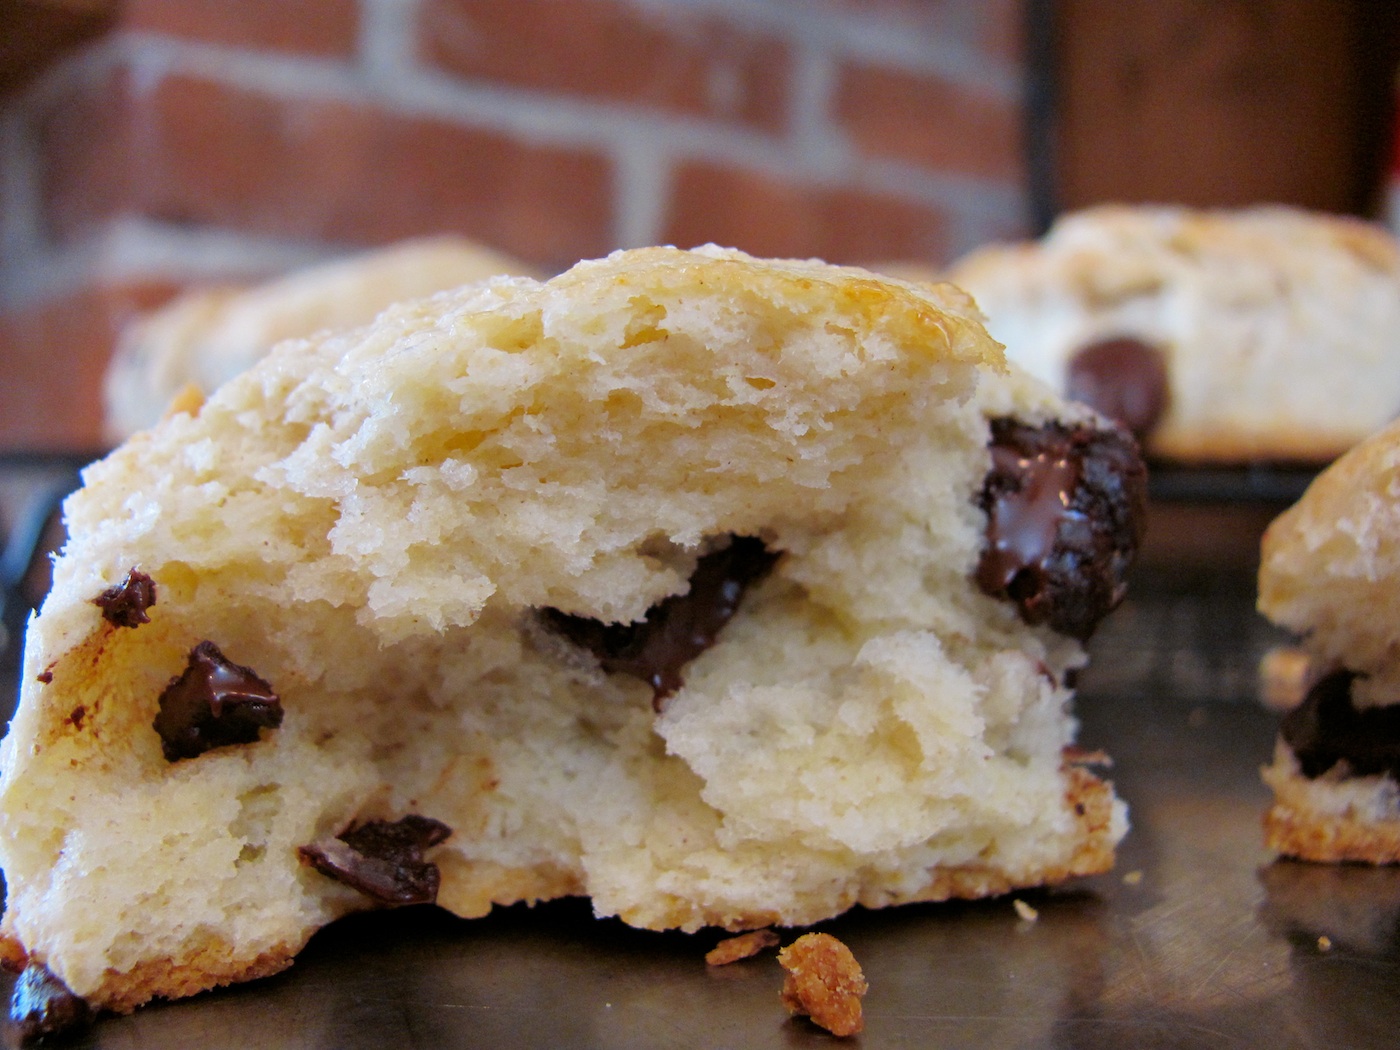
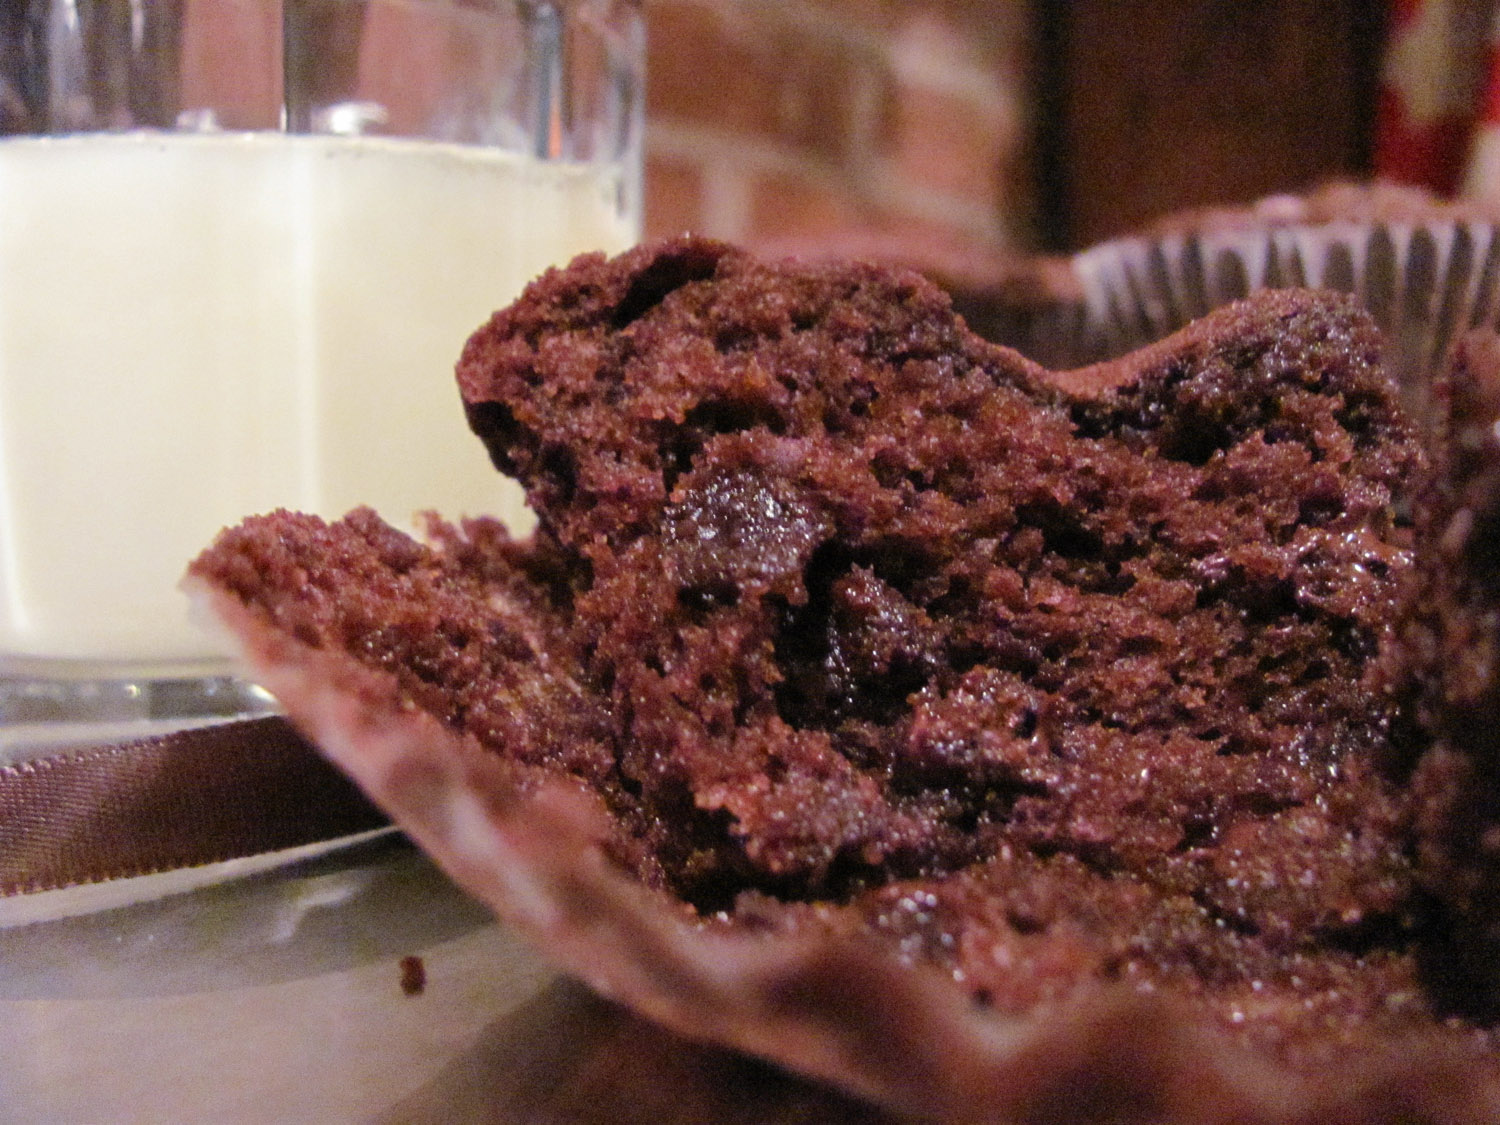
The tender, fluffy insides. 
These scones have only the slightest touch of sweetness (as it should be, in my book), and there is something very satisfying about the combination of simple breadstuff with bittersweet chocolate.

In the Cookie Jar: Back to Basics

Chewy Chocolate Chunk Cookies with bittersweet and milk chocolates

“Sometimes me think what is love, and then me think love is what last cookie is for. Me give up the last cookie for you.” — Cookie Monster
Oh, Cookie Monster. You are right about so many things.
Anyway, I’ve decided it’s high time I feature a cookie of the week here at Love & Scraps, and I figure there is nothing more appropriate for the first installment than classic Chewy Chocolate Chunk Cookies. These cookies are simple, but sublime, and riddled with both bittersweet and milk chocolate chunk-age.
Now, chocolate chip cookie recipes are about as basic as it gets. They are everywhere, much like Ubiquitous Banana Bread. I am not reinventing the wheel here, merely sharing my method for making one of my household’s cookie jar / lunchbox staples.

Chewy Chocolate Chunk Cookies
1 cup (2 sticks) butter, softened
1 cup brown sugar, packed
1/2 cup granulated sugar
1 tablespoon vanilla
2 large eggs
2 1/4 cups all-purpose flour
1 teaspoon baking soda
3/4 teaspoon salt (I like a bit more salt than is standard in most CCC recipes. If using unsalted butter, use 1 teaspoon salt.)
1 1/4 cups bittersweet chocolate chunks, or chips (I use a 60-70 percent cacao bar of chocolate, roughly chopped.)
1 cup milk chocolate chunks, or chips (I like the kid-pleasing sweetness once in a while.)

Preheat oven to 375 degrees. Have 2 cookie sheets at the ready (do not grease the sheets).

Whisk together flour, baking soda and salt. Set aside.

Cream butter and sugars until fluffy. Mix in vanilla and eggs, one at a time, until incorporated.

Work in flour mixture, in two or three batches, until combined. Don’t over-mix.

Stir in chocolate chunks, milk and bittersweet.

Drop cookie dough by hefty tablespoonfuls onto ungreased, cool-to-the-touch cookie sheets. (I use a scoop for this purpose that measures 1 1/2 inches in diameter. I like my cookies relatively uniform in size. Plus, they’ll bake more evenly if basically the same size.) Smoosh down dough a bit with the back of the spoon/scoop. Make sure cookies are somewhat evenly spaced with room to groove (we don’t want any run-ins).

Note: It may be tempting to slap dough onto trays relatively fresh from the oven, to keep things moving, but don’t do it. A hot tray messes with perfection.

Bake in preheated oven for 9 to 11 minutes, rotating tray at about the 6-minute mark. Cookies are done when set and golden brown around the edges but still a tad wet-looking in the middle. Remove from oven but leave on the cookie sheet for about a minute, then transfer cookies to wire rack to cool.

Ubiquitous Banana Bread

Bananas and bittersweet

Despite the fact that banana bread and banana bread recipes seem to be everywhere, all the time, I will share mine here, if for no other reason than for the sake of full disclosure: I bake a batch of banana bread at least once a month, so how could I maintain a baking/random ramblings/food love blog without a banana bread post?
Not so attractive at this point

The man in my life eats a banana every morning. Bananas are tasty and good for you, after all. Still, he can’t keep up with supply, and several mushy bananas find themselves in the deep freeze awaiting their fate at the hands of my potato masher and 350-degree oven. Some end up in muffins, others in quick bread studded with bittersweet chocolate chunks.
So, if for some inexplicable reason you can’t find your own trusty, go-to banana bread recipe, have a go at this one. It makes four (4) mini-loaves, which I find more manageable than full-size loaves for our household of two.
Banana Bread with Bittersweet Chocolate Chunks
4 large over-ripe bananas, mashed
3 large eggs
1 1/2 teaspoons vanilla extract
1/4 cup plus 2 tablespoons milk
1/3 cup plus 3 tablespoons oil
1 1/2 cups granulated sugar
3 cups all-purpose flour
3 teaspoons baking powder
1 1/2 teaspoons ground cinnamon
scant 1/2 teaspoon ground nutmeg
scant 1/2 teaspoon salt
3/4 cup bittersweet or semi-sweet chunks (feel free to add chopped walnuts or pecans, instead of or in combination with the chocolate)
Preheat oven to 350 degrees. Lightly grease and flour baking tins (my mini-loaf pans are about 3 x 5 1/2 inches).
Whisk together dry ingredients. Set aside.
Mix mashed bananas with eggs, sugar and wet ingredients, combining thoroughly.
Fold wet ingredients and chocolate chunks into dry to combine, but don’t overwork your batter.
Fill prepared tins about 3/4 of the way and bake for 35-40 minutes.
Leave in pans to cool for about 5 minutes before transferring to wire rack to cool completely.
When cool, wrap in layer of plastic wrap and layer of aluminum foil. It’s best to leave them alone for about a day before scarfing. Also, these breads freeze well.
P.S. Some folks use mini-chocolate chips in their banana bread, if they use chocolate at all. This method is not for me. I like to go whole hog and prefer an infrequent burst of bittersweet to overabundant mini-chippage.

Chocolate Love

No lumps. No bumps. Just creamy, dreamy bittersweet bliss.

What can I say? I screwed up.

Twice I managed to destroy my Mile-High Chocolate Cream Pie / Valentine’s Day post. But here we go. Again. I won’t even dare to hope the third time will be the charm. I’ll post and never look back, won’t go back even for a quick edit or two.

I’ll try not to, anyway.
In previous posts, I said a lot of lovely things about love, trying my best not to sound too schmaltzy. Forget all that. I no longer have the words, and, anyway, this is all you really need to know: eat pie; love the one you’re with; live together, die alone (gratuitous ‘Lost’ reference).

If you love chocolate pudding, you will love this pie. It is a richer, more adult version of what you probably ate as a kid. Enjoy.

Mile-High Chocolate Cream Pie 
(Adapted from a recipe in Gourmet magazine / February 2004, my version shows off my homemade chocolate wafer cookies, beaten senseless at the altar of pie crust. Keep in mind, though, the cookies are darkly delicious on their own with a tall glass of cold milk [you will have extra wafers].)


Chocolate wafers (for the cookie crust; if you prefer, use store-bought chocolate wafers or graham crackers):
1 stick salted butter, softened
3/4 cup packed brown sugar
1/2 cup granulated sugar
1 teaspoon vanilla extract
3-4 tablespoons skim milk

1 cup plus 3 tablespoons all-purpose flour
1/2 cup unsweetened cocoa powder
1/4 teaspoon baking soda
scant 1/4 teaspoon salt

In a small bowl, whisk together flour, cocoa powder, baking soda and salt. Set aside.

Putting the pig to work.

Beat softened butter until creamy; add sugars and beat on high speed until incorporated and fluffy.
Turn mixer to low; beat in milk and gradually add flour mixture 1/4 cup at a time.
Stop mixing once flour is fully incorporated and dough has come together.
Place dough on sheet of waxed paper or plastic wrap and form into a log, the diameter of which will be the approximate width of your cookies once sliced.
Refrigerate log for about an hour.
Position racks in upper and lower thirds of oven. Preheat oven to 350 degrees. Lightly grease two baking sheets.
Slice dough log into 1/4-inch-thick rounds. Place on cookie sheets.
Bake in preheated oven for 10-13 minutes, depending on the thickness of your dough. Rotate baking sheets at about the 6-minute mark.
Transfer cookies to wire racks to cool completely.
Crust:
1 1/3 cups chocolate wafer crumbs (from homemade wafers —recipe above — or store-bought; crush cookies in food processor or place in food-storage bag and beat with rolling pin.)
1/4 cup sugar
5 tablespoons butter, melted

Filling:
2/3 cup granulated sugar
4 large egg yolks (I save the whites for a breakfast sandwich)
1/4 cup cornstarch
1/2 teaspoon salt
3 cups whole milk (do not use low-fat or skim)
5 ounces bittersweet chocolate (60-70 percent cacao), melted
2 ounces unsweetened chocolate, melted
2 tablespoons butter, softened
1 teaspoon vanilla
Topping:
1 cup heavy cream
1 heaping tablespoon sugar (or less; the pie is rich, and I find too-sweet cream overkill)
For the crust:
Preheat oven to 350 degrees (rack should be in middle position).
With fork, mix wafer crumbs with sugar and melted butter until fully incorporated.
Press crumb mixture into 9-inch pie plate, being sure to make it at least 2/3 of the way up the side.
Bake in preheated oven for about 15 minutes. Let cool completely on wire rack while you make the filling.
For the filling:
In a large heavy-bottom saucepan, whisk together egg yolks, sugar, cornstarch and salt (do not turn on burner for this step).
Slowly add milk, whisking continuously while you turn the burner on medium heat.
Bring to boil, whisking all the while, then reduce heat and simmer for about a minute, still whisking passionately. (I’m sure you’ve caught on to the importance of nonstop whisking. Whisk like you’ve never whisked before. If you do, the promise of creamy, lump-free decadence is yours.)
The filling should be thick. Take off the heat and transfer to large bowl. (At this point, Gourmet instructs one to push the filling through a fine-mesh sieve; well, this one couldn’t find her sieve. I momentarily considered forcing it through my flour sifter but upon further reflection smartly decided against it. After all, I whisked like the dickens and felt confident my custard was lump and bump free. Upon feasting later, I discovered I was right.)
Whisk in both chocolates, vanilla and softened butter, mixing thoroughly.
Cover surface of filling with greased round of wax paper (to avoid formation of a funky skin) and let cool completely in the fridge (about 2 hours).
Spoon chilled filling into crust and refrigerate pie, 6 hours or overnight.
To serve:
When you can’t take it any longer, whip cream and sugar with electric mixer until fluffy. Top pie with cream and have at it.
I had this for breakfast.

Happy Snow Day To Me

Triple Chocolate Babycake studded with bittersweet chunks

Today is a day for celebration. I did my taxes (before April 14 for the first time ever in my life). I shoveled (a lot). I was able to start the car (eventually). And while I’ve been trying to lay off chocolate in anticipation of the dark things I intend to bake for Valentine’s Day, I decided there was no harm in enjoying a few Triple Chocolate Babycakes on a blustery day of such fine accomplishment.
These cakes are small and unadorned for a reason: they are meltingly rich and a few bites will do you (not that I am anyone to judge responsible chocolate intake), and frosting would be unwelcome overkill. 
I enjoyed mine with an icy cold glass of milk, shared a few, and froze the rest.
The moist and gooey insides

Triple Chocolate Babycakes
1/2 cup (1 stick) butter, softened
1 cup packed light brown sugar
3 ounces unsweetened chocolate, chopped (I used 3/4 of a Ghirardelli 70% cacao bittersweet baking bar)
6 ounces semisweet chocolate, coarsely chopped (chips work fine, too, of course)
6 ounces bittersweet chocolate (60% cacao), coarsely chopped (chips, again, are fine)
2 large eggs
1 teaspoon vanilla
2/3 cup milk
1 cup all-purpose flour
1/2 teaspoon baking soda
1/4 teaspoon salt (if you use unsalted butter, use a 1/2 teaspoon salt)
Preheat oven to 350 degrees. Position racks in upper and lower thirds of oven. Line or grease muffin tins (I used 2 standard tins — one 12-cup and one 6-cup — but filled only 16 cups).
Whisk flour, salt and baking soda together. Set aside.
Melt unsweetened chocolate and 1/2 cup of the semisweet chunks in microwave or double boiler. Set aside to cool slightly.
Cream butter and sugar until fluffy. Add vanilla and eggs, one at a time, until fully incorporated.
Add melted chocolate to butter/sugar/egg mixture, mixing well.
Add flour mixture and milk to batter, alternating in a few batches. 
Fold in the bittersweet chunks and remaining semisweet chunks.
Fill prepared muffins cups about 3/4 of the way.
Bake in preheated oven for 24-26 minutes, rotating pans halfway through baking. (You can test for doneness with a cake tester / toothpick, but try to avoid any molten chunks that might throw you off. Good luck. … Really, though, the cakes will set up nicely and lose that wet look when fully cooked. Also, it’s a good rule of thumb to check them when you smell them.) 
Cool in pans about 15 minutes before releasing to wire racks to continue cooling.
Serve warm or cooled, as is or with a scoop of your favorite vanilla bean ice cream.
(Recipe makes 14-16 Triple Chocolate Babycakes, depending on the size of the tins. Babycakes freeze well.)