Cider Duffins

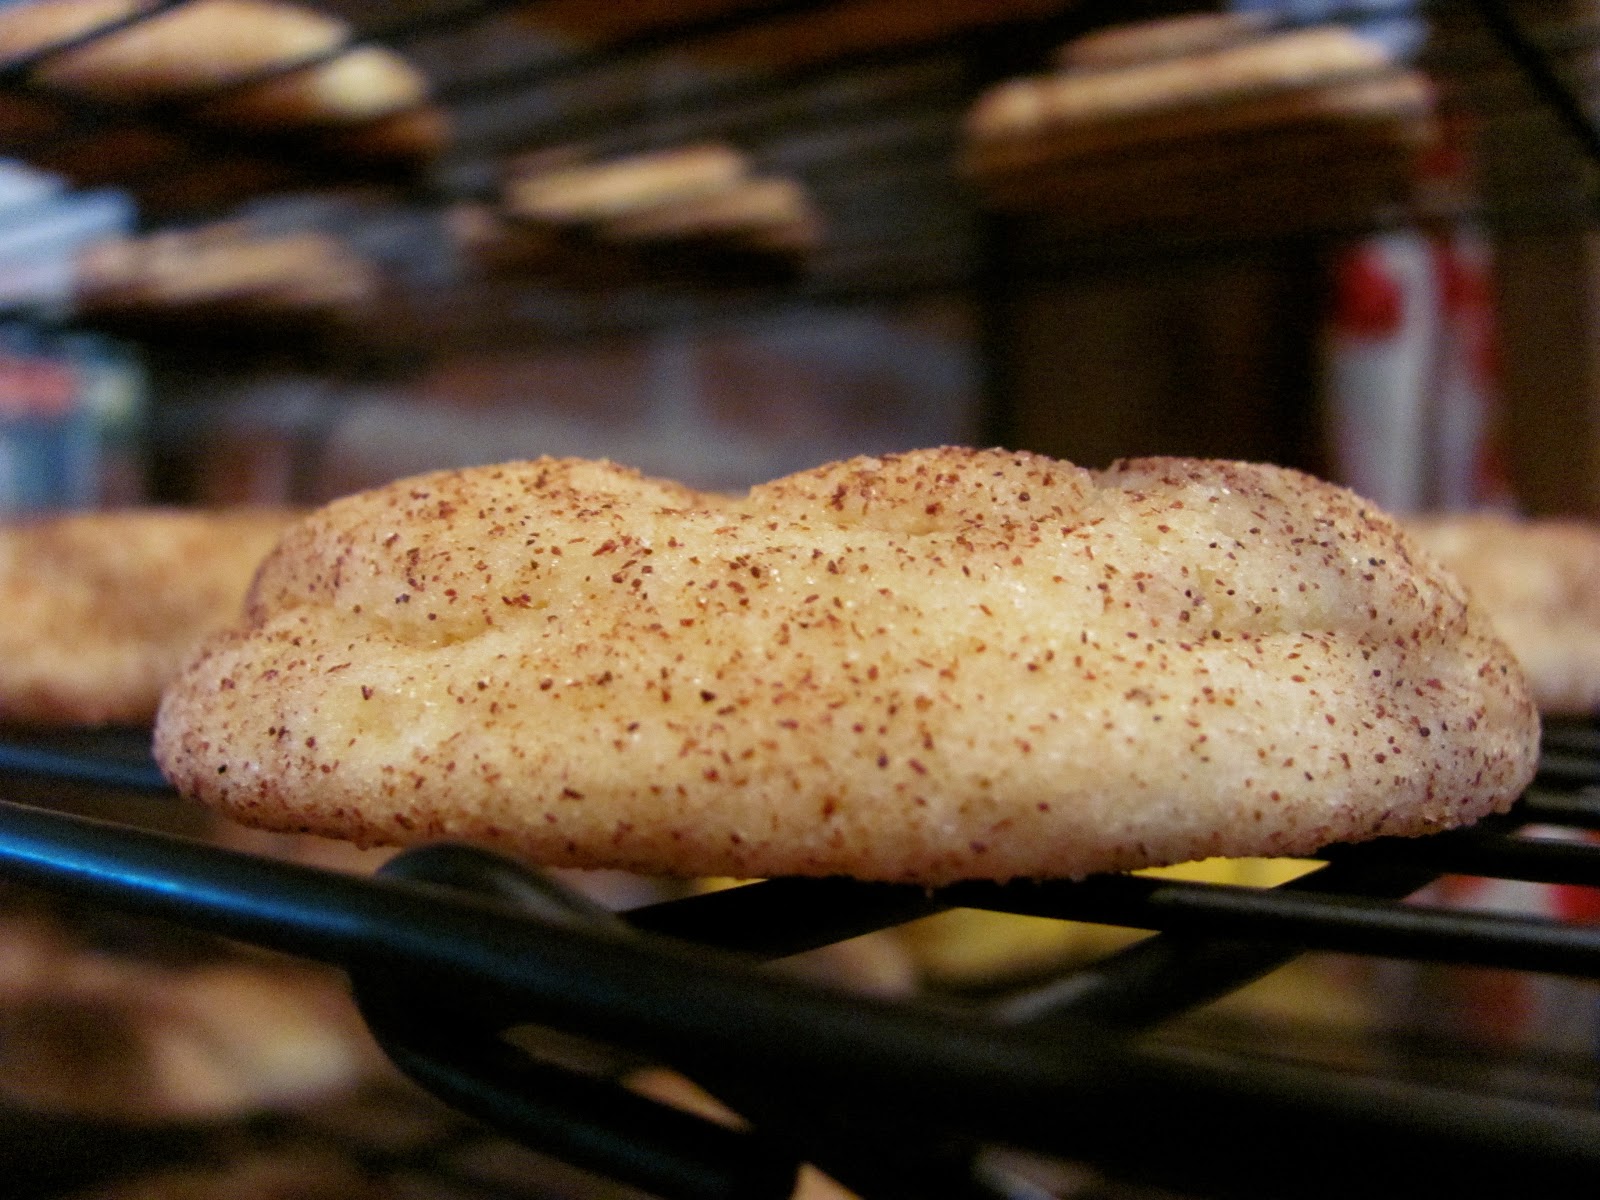
Cinnamon-sugar donut muffins with a touch of cider syrup.

I don’t know about where you live, but here in Vermont come fall, cider donuts reign supreme, calling to tourists and locals alike from mom-and-pop bake shops, roadside stands, apple orchards, even gas stations. Sweet and fattening, these golden-brown chubbers are often sold in brown paper bags slightly stained with oil. More often than not, they’re still warm from the fryer. Praise be.
Thankfully, luckily, perhaps dangerously, cider donuts are easy to replicate at home in the form of Cider Duffins (you guessed it, a cross between a donut and a muffin). The batter is simple, and there’s no need for deep-frying. A swim in a butter bath before a tumble in cinnamon-sugar achieves borderline perfection in the donut mouthfeel department. If there is such a department. 
Cider Duffins
1 cup all-purpose flour
1 teaspoon ground nutmeg
1 teaspoon baking powder
1 pinch salt
1/2 cup brown sugar
1/4 cup butter, melted
1 egg
1 tablespoon Cinnamon Cider Syrup*
1/2 cup milk
Topping:
1/4 cup butter, melted
1/2 cup granulated sugar
1 teaspoon ground cinnamon
Preheat oven to 375 degrees. Grease a 24-cup mini-muffin pan.
Whisk together flour, nutmeg, baking powder and salt. Set aside.
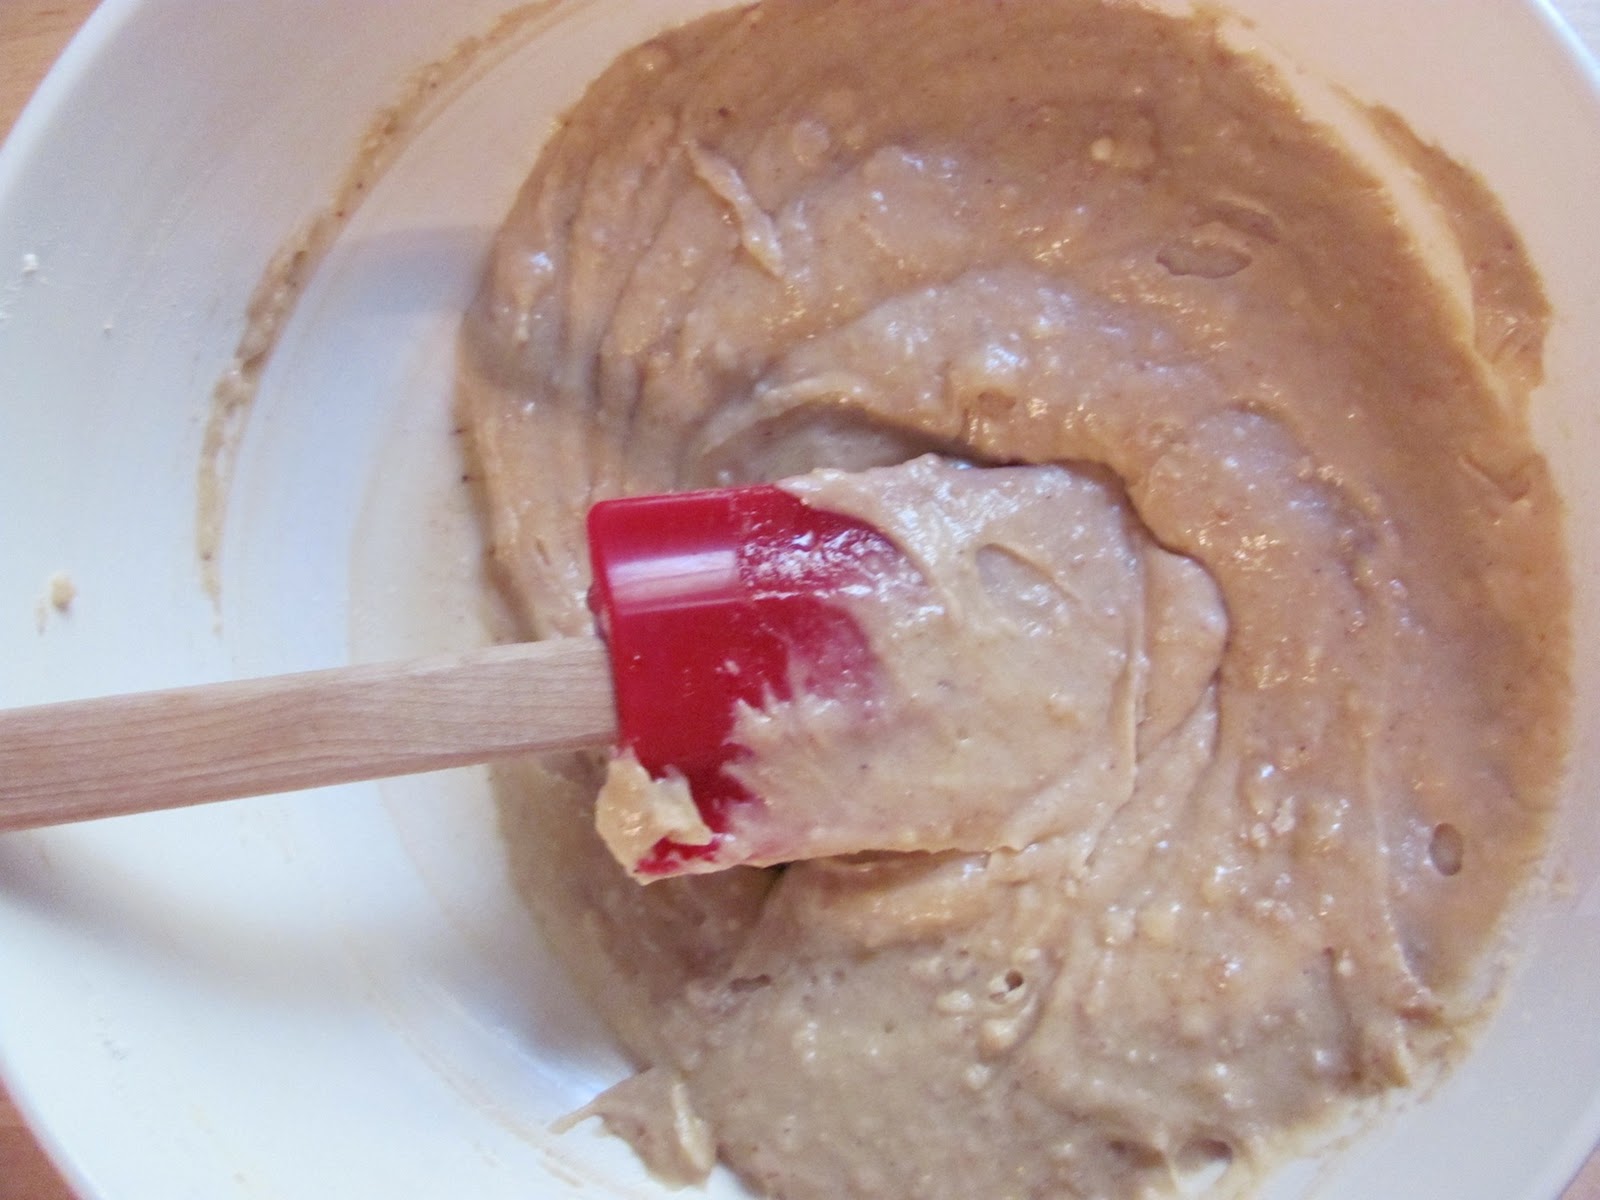
In large bowl, mix brown sugar, melted butter, egg, Cinnamon Cider Syrup and milk. 
Stir in flour mixture until combined.
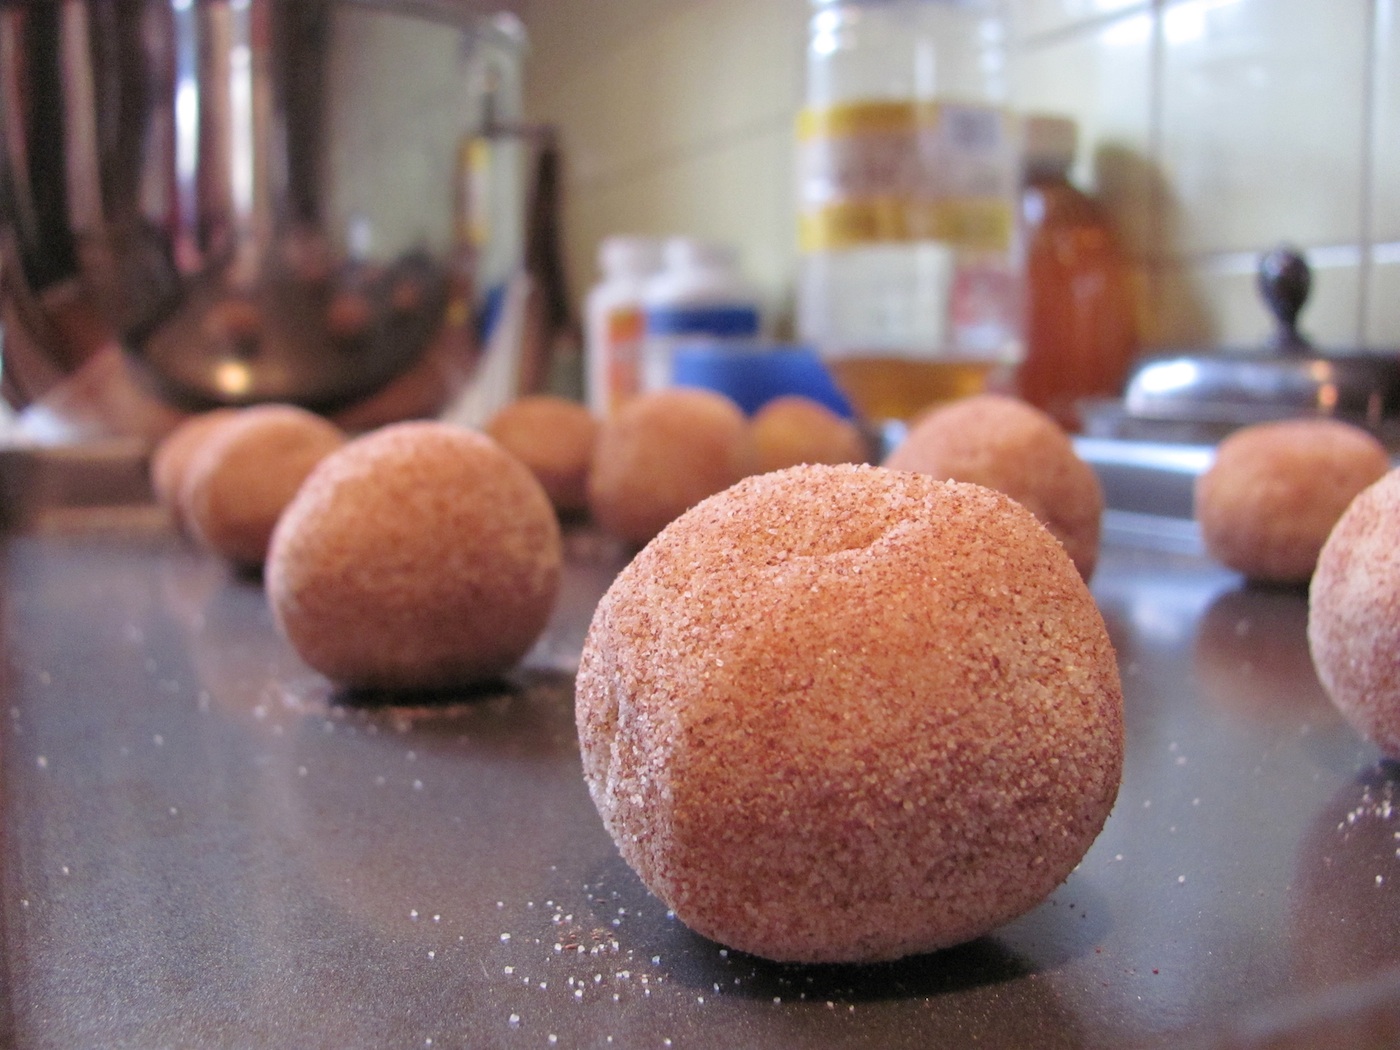
Spoon batter into mini-muffin tin. (I used a 1-inch scoop and was not able to fill the entire tin — made about 18 as I recall.)
Bake in preheated 375-degree oven for 15-17 minutes. (While duffins bake, mix cinnamon and granulated sugar in small bowl.)

While still hot from the oven, dip each duffin in melted butter, then roll in cinnamon-sugar mixture. Set on wire rack to cool (or don’t bother and just eat straight away, as we did this morning).

* I buy my Cinnamon Cider Syrup, a tasty coupling of maple syrup and boiled cider, from Wood’s Cider Mill just up the road in Weathersfield, Vermont. Look here for more info.

Doin' the Doodle

Cookie of the Week: Installment 4 
Cinnamon-sugary Snickerdoodles with a hint of nutmeg.


I hesitated before embarking on my Cookie of the Week series, mostly because I rightly suspected that I would screw up the rotation. This Cookie of the Week post is evidence of that — it is about five days late — but I hope you find it worth the wait.

For its name alone, the Snickerdoodle is one of my favorite cookies. But there is more to this cookie than a cool, goofy name. Snickerdoodles have history. They are a cookie jar classic. Some say their roots can be traced back to Germany (to the “schneckennudeln,” or snail dumpling). Hmmmm. I prefer Snickerdoodle to snail dumpling. … Anyway, they are the first cookies I learned to bake in my mother’s kitchen, and they quickly became my go-to cookies (the ingredient list is short and simple, and the goods are always on hand).

Snickerdoodles are basically sugar cookies that take a tumble in cinnamon sugar before hitting the oven. I add nutmeg to the dough to further add to that homey, big-hug, old-fashioned sugar cookie taste.

Snickerdoodle dough balls: post-cinnamon sugar tumble.

Snickerdoodles
1 cup (2 sticks) butter, softened
1 1/2 cups granulated sugar
2 large eggs
1 teaspoon vanilla
2 3/4 cups all-purpose flour
2 teaspoons cream of tartar
1 teaspoon baking soda
1/2 teaspoon nutmeg
1/4-1/2 teaspoon salt
cinnamon sugar mixture (for rolling dough balls — I used a couple of tablespoons of sugar and a couple of teaspoons of ground cinnamon)
Preheat oven to 350 degrees.
In small bowl, whisk together flour, cream of tartar, baking soda, salt and nutmeg. Set aside.
Beat butter and sugar in large bowl until light and fluffy. 
Mix in eggs and vanilla.
Add flour combo and mix until thoroughly combined.
Scoop dough by tablespoonfuls (or use a handy 1 1/4-inch scoop, like I did), form into balls and roll in cinnamon sugar mixture. 
Place balls on ungreased, cool-to-the-touch cookie sheets.
Bake in preheated oven for 10-12 minutes.
Leave cookies on sheets to cool for about a minute before transferring to wire racks to cool completely.
(Note: I ended up with about 2 1/2 dozen cookies, but my scoops tend to lean toward the fat and full. Feel free to make them a bit smaller if you’re looking for greater yield.)

Somewhat Virtuous Sticky Sweetness

I love butter. I love buttery brioche. I love buttery brioche dough rolled up with brown sugar, spices and even more butter. I love to smell it baking in the oven, the brioche buns nestled together to better soak up any sticky, caramel-like secretions.

I also love zipping my pants and maintaining a reasonably sized muffin top.
So, this morning, I gave up my brioche fantasy for a while in favor of an experiment: a skinny rebirth of sorts for my Sticky Buns with Maple Icing. I made my buns with low-fat buttermilk roll dough instead of brioche (sniff) and, I have to tell you, the results weren’t too shabby. Of course, somehow I managed to soften nearly a half-cup of butter with which to smear the dough before adding the sugar and spices, but come on, it could have been far worse.
I baked 8 buns the traditional way, crammed together in a pan (see above), and another 10 I baked as stand-alones in a muffin tin (as seen in the opening photo and below).

If you’re willing to pass up layers of soft, ultra-rich (insanely fattening) dough in favor of a low-fat bun with all the other trappings of goo and sweetness, try this recipe.
Sticky Buns with Maple Icing
(recipe yields about 18 sticky buns)

1 tablespoons active dry yeast
1 1/2 teaspoons sugar
1/4 cup warm water
2 cups buttermilk (I never seem to have buttermilk in the house when I need it; often I substitute regular milk with a shot of vinegar: in this case, 2 tablespoons vinegar to nearly 2 cups skim milk)
3-4 tablespoons vegetable oil
1 1/2 teaspoons salt
4 1/2 – 5 cups all-purpose flour
1/ 1/2 teaspoons baking soda
gooey insides
1/2 cup (1 stick) softened butter (salted is fine)
1 1/4 cups packed brown sugar
2 teaspoons ground cinnamon
1/2 teaspoon ground cardamom
maple icing
1 1/4 cups confectioners’ sugar
3-4 tablespoons pure Vermont maple syrup
1-2 tablespoons skim milk

Combine yeast with water and sugar. Leave to rest and do its thing for about 5 minutes (bubbles will rise to surface).

Mix buttermilk with vegetable oil and salt over low heat until warm. Add this mixture to large bowl.

Sift together all-purpose flour and baking soda. Set aside.

Add yeast mixture to buttermilk mixture. Stir.

Add 2 1/2 – 3 cups of flour mixture, beating on medium-high speed to combine. (You’ll want to switch to a dough hook eventually if you’re using a stand mixer.)

Add additional flour in batches until dough starts to form and pull away from sides of bowl.

Transfer dough to lightly floured surface and cover with bowl. Let it rest about 15 minutes.

Uncover and knead with dough hook for about 5 minutes if using stand mixer, up to 10 minutes if kneading by hand, until dough is satiny and springy.

Preheat oven to 350 degrees. Grease 2 round cake tins or pie pans (or go the muffin tin route I discussed above).

Divide dough into 2 equal portions. Roll each into a rectangle.

Smear 1/4 cup softened butter all over each rectangle, then generously shower with brown sugar and spices.

Starting from the long side, roll up the dough rectangles jelly-roll style to form 2 logs. Slice each log into 9 buns.

I was a bit overzealous with my butter softening technique and ended up with vast pools of the stuff. Not bad. Just messy.

Place 9 buns into each pan. It’s OK if they don’t fit snugly; they will grow.

Bake in preheated oven for 15-20 minutes.

While the buns bake, mix confectioners’ sugar with maple syrup and skim milk to make icing.

Generously ice buns as soon as you remove them from the oven.

Eat them, being sure to scoop up the goo in the bottom of the pan.