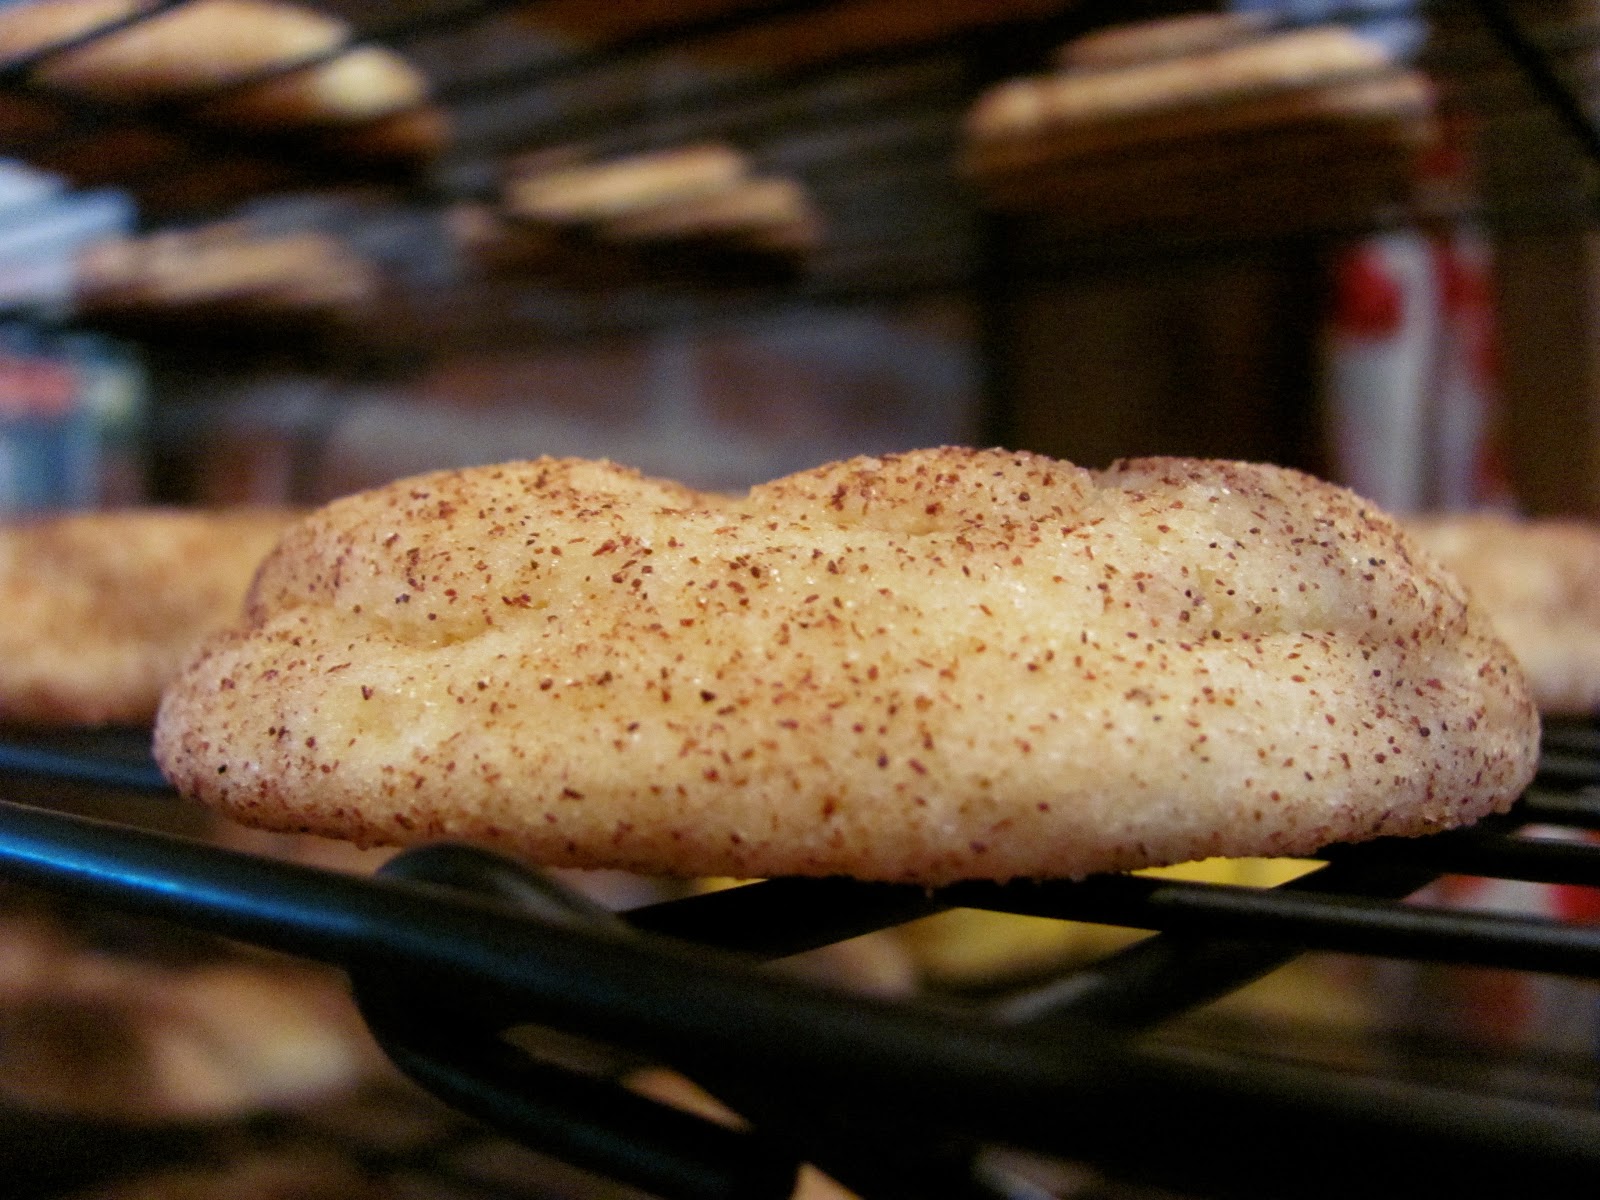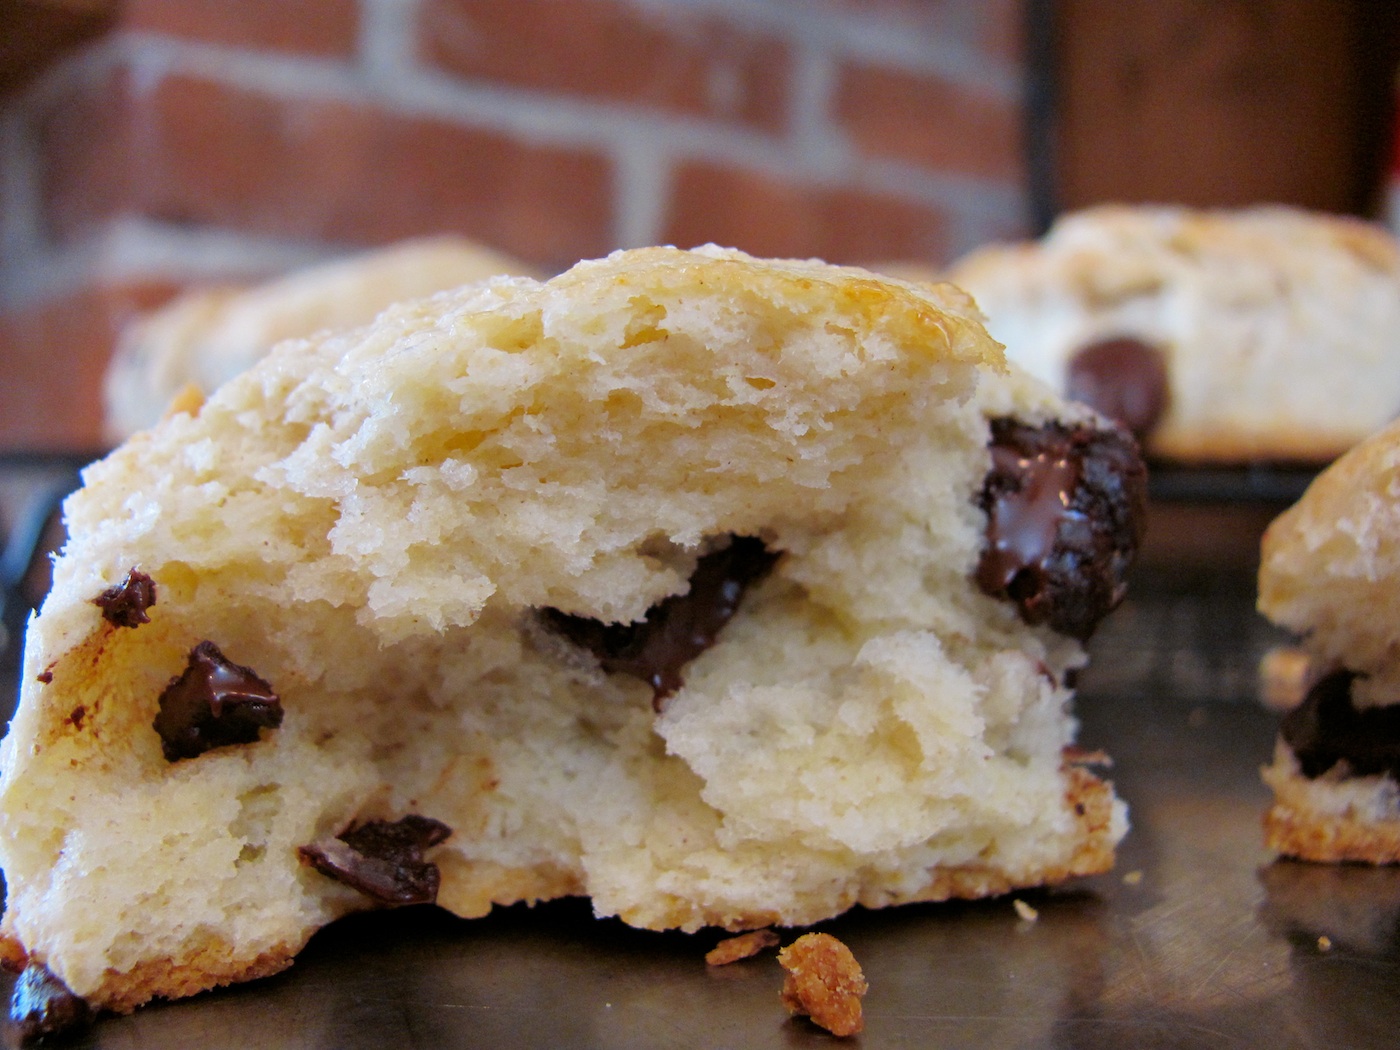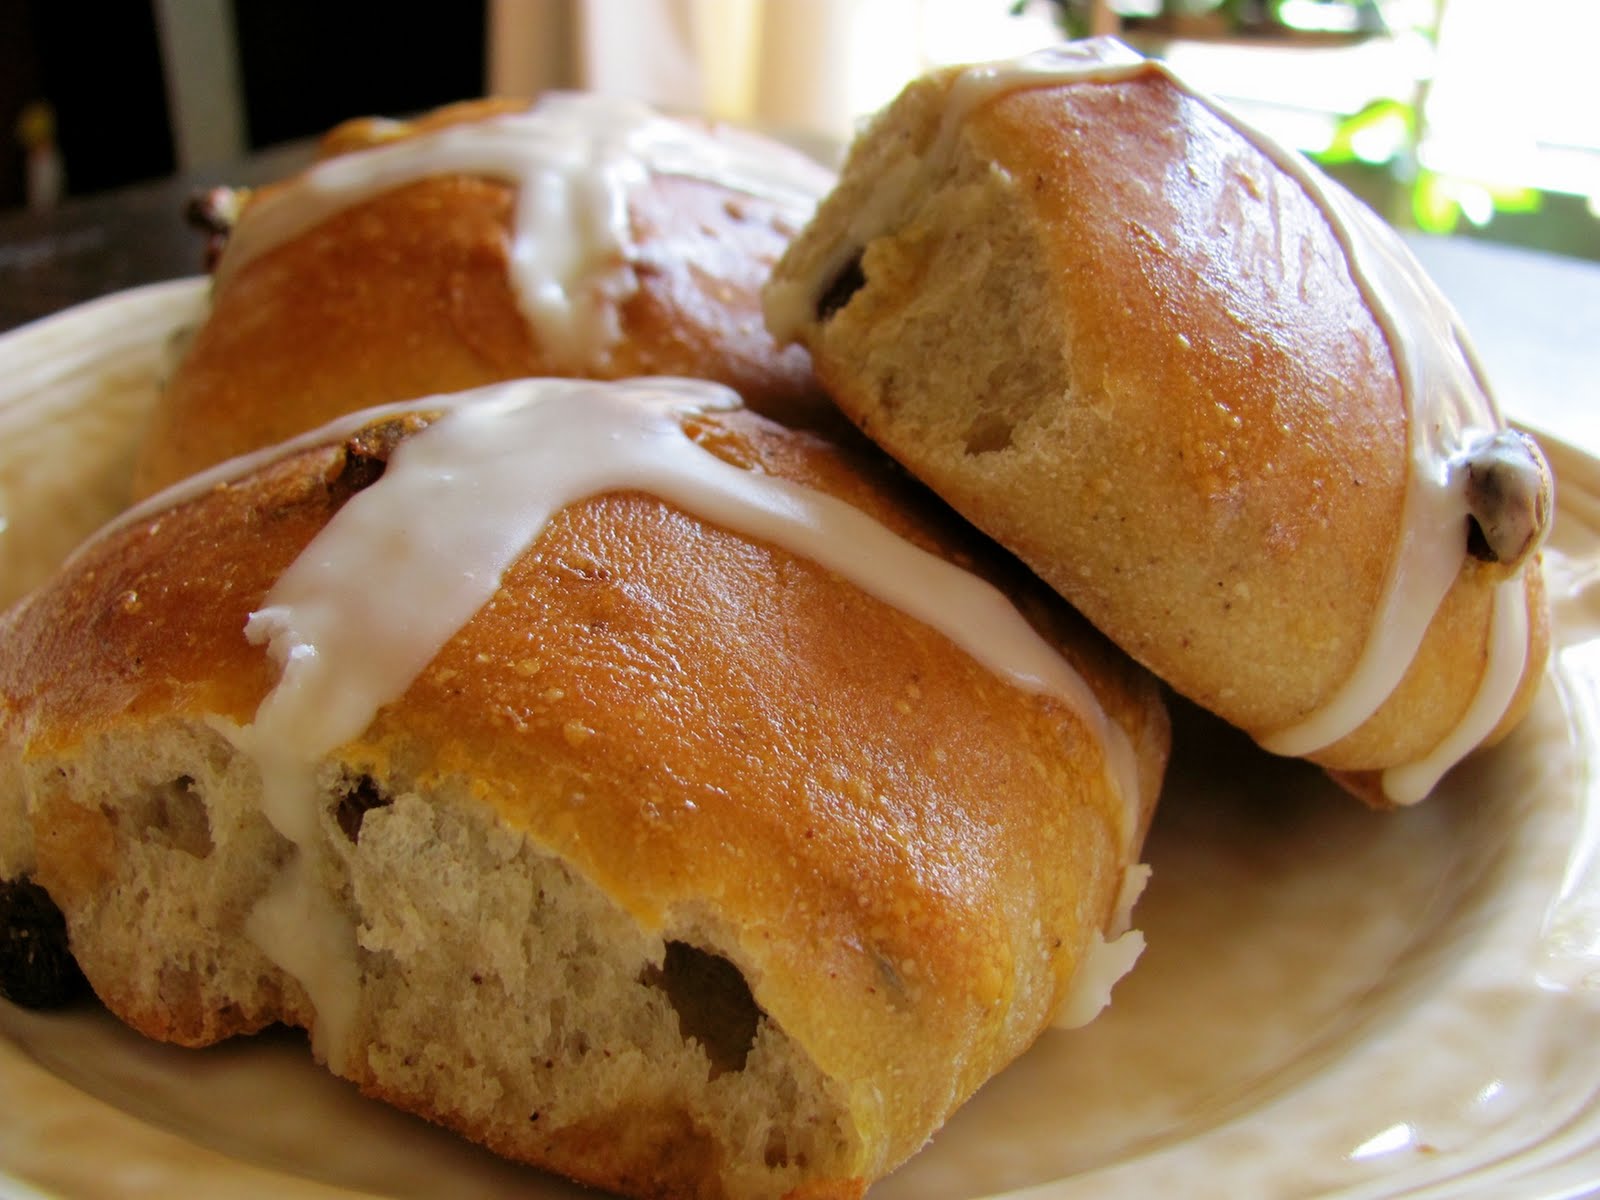
Lightly spiced Hot Cross Buns with orange juice-infused icing. Good morning to me.
Wow. This post is late. Really late. Easter was yesterday. I made these buns Saturday afternoon, with all good intentions of posting that night. But, as it often does, life got in the way. Specifically, a malfunctioning computer keyboard got in the way.
But here we are at last. All systems are go. Save this recipe for next Easter, if you must, or make any old time. There’s no good reason Hot Cross Buns can’t be enjoyed year-round.
I’ve always thought of Hot Cross Buns as old-fashioned, and rightfully so. An Easter tradition, bakers have been making them for centuries. In my mother’s house, when I was a child, the buns were store-bought. My mom was busy making a gigantic coconut cake in the shape of a rabbit, hiding eggs and baskets, and preparing an elaborate Easter dinner with lamb (or ham). Who had time to bake buns?
Well, I have time now. My Easter doings are minimal. There are no children about. No egg hunts. No elaborate dinners to prepare. No church.
Over Easter weekend, I cleaned the house, walked with a friend, helped set up the badminton net, and thought about my mom. She died six years ago, a few days after Easter. I thought about the last meal she and I shared, Easter dinner (not knowing it would be our last). As it turned out, my mom didn’t want lamb. Or ham. Or fancy brunch. She was craving eggplant parmesan, so we had that.
But that’s another post, for another day. Back to the bun-age: lightly spiced and spotted with currants or raisins, Hot Cross Buns are a perfect brunch bun, coffee-talk bun, random walk-by-the-kitchen-and-feel-like-a-nosh bun. Really, they are good anytime.
I prefer my buns warm, though. If you’re faced with day-old buns, wrap them in aluminum foil and pop them in a warm oven for a few minutes.
Yum.
Hot Cross Buns
(for Easter, for anytime)
1 package (1 ounce) active dry yeast
1 tablespoon granulated sugar
1/2 cup lukewarm water
3/4 cup lukewarm whole milk
3-3 1/2 cups all-purpose flour
1/4 cup granulated sugar
1/2 teaspoon salt
1/2 teaspoon cinnamon
1/4 teaspoon nutmeg
1/4 teaspoon clove
2 eggs, beaten
1/2 teaspoon vanilla
6 tablespoons butter, melted
1 tablespoon orange zest, optional
1 cup currants or raisins
—
1 egg yolk
1 tablespoon water
—
3/4 cup confectioners’ sugar
1 tablespoon plus 1 teaspoon orange juice
In large bowl, thoroughly mix yeast with milk, water, 1 tablespoon sugar and 1 cup of the flour. Set bowl in a warm place for a few minutes to get the yeast working. (I placed mine in a warm oven.) Mixture will become frothy.
Once the mixture is sponge-like, mix in 1/4 cup sugar, melted butter, salt and spices. Beat in eggs and vanilla.
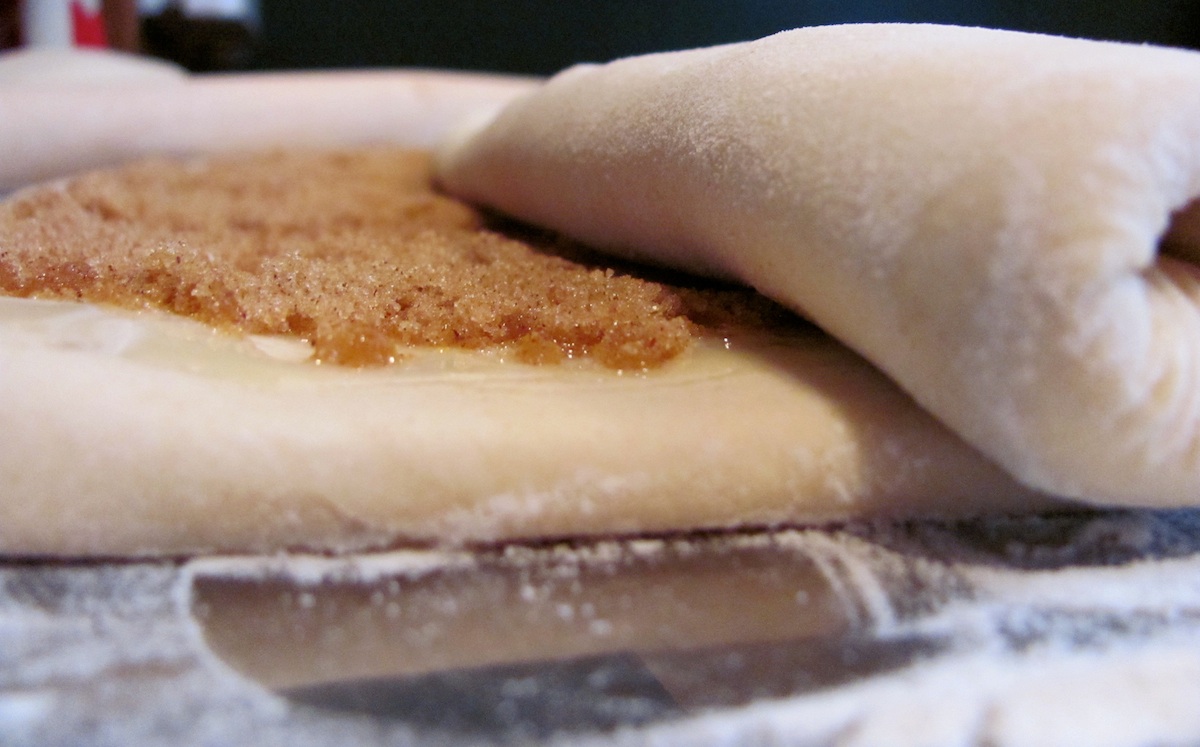
Stir in currants (or raisins) and orange zest.
Add remaining flour, 1 cup at a time, stirring with a wooden spoon until a soft dough is formed.
Transfer dough to a lightly floured surface and knead until smooth and satiny, about 10 minutes (or knead using a stand mixer fitted with the dough hook on low speed for about 4-5 minutes).
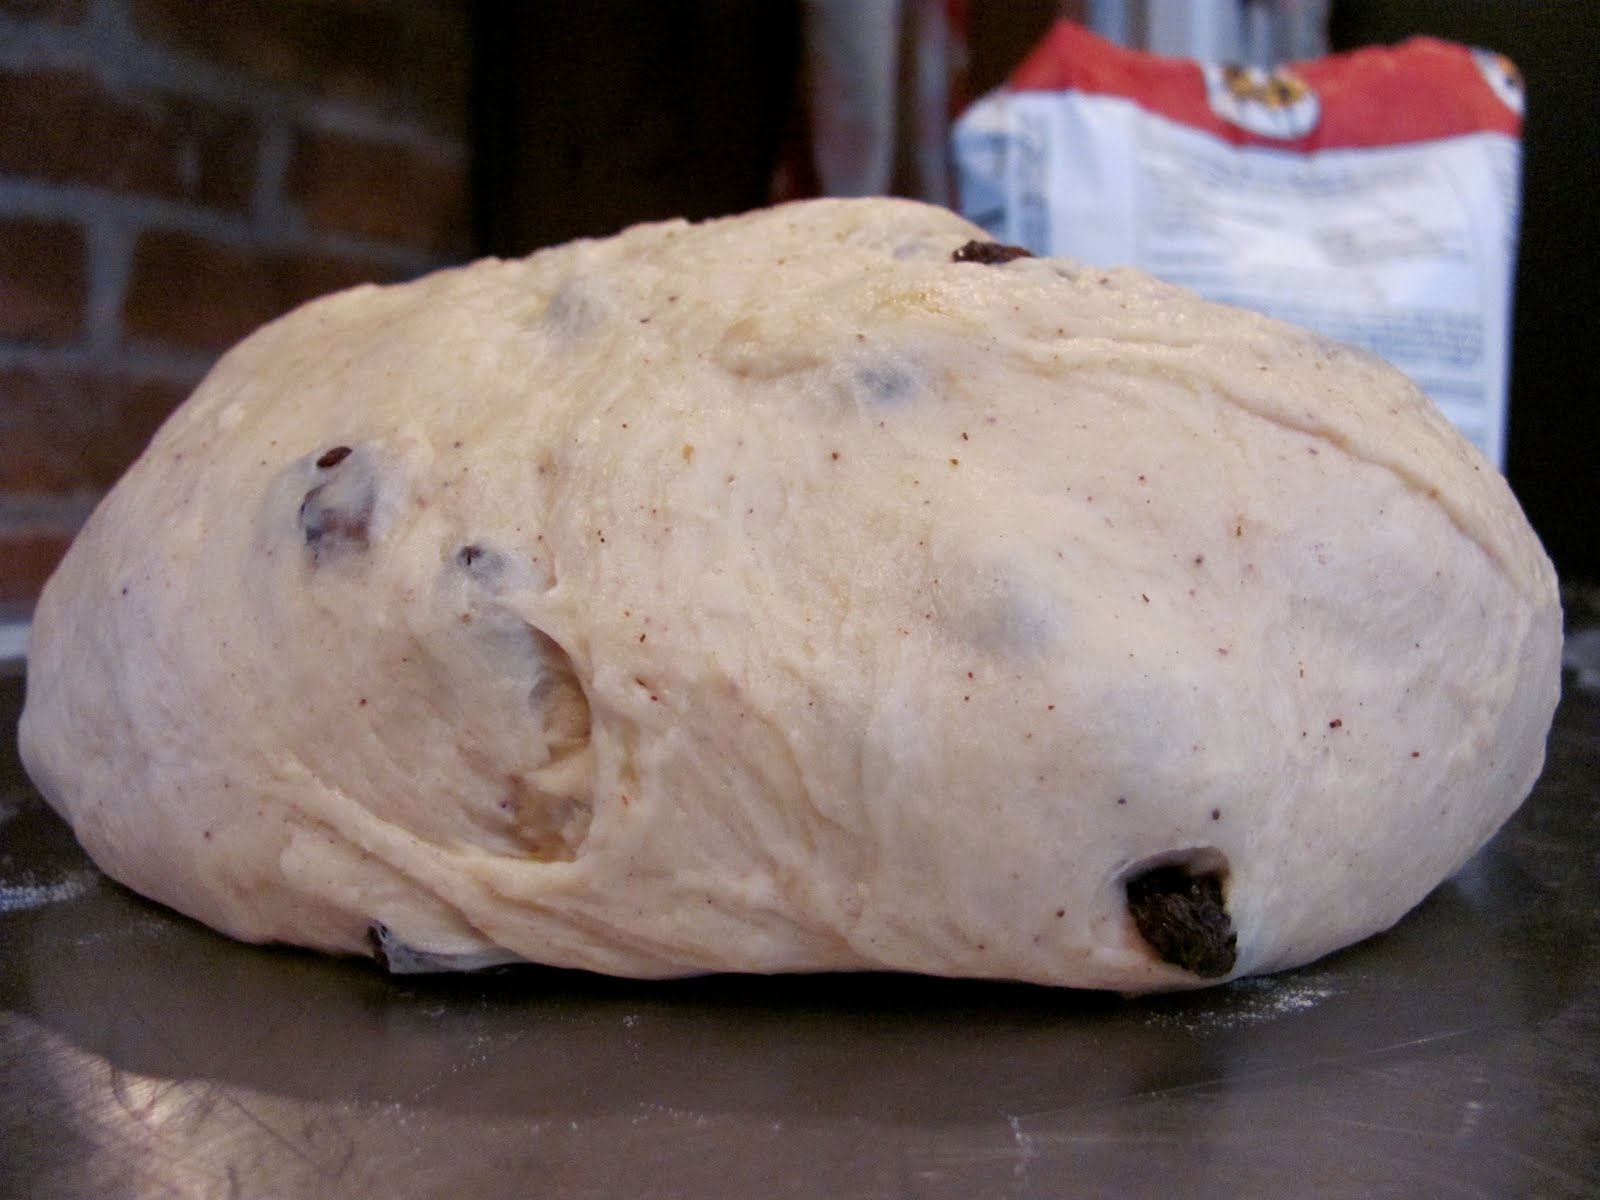
Place dough in greased bowl, cover and let rise in warm place until double in size, about 1 1/2 hours.
Punch down dough (my favorite part) and knead for a minute or two.
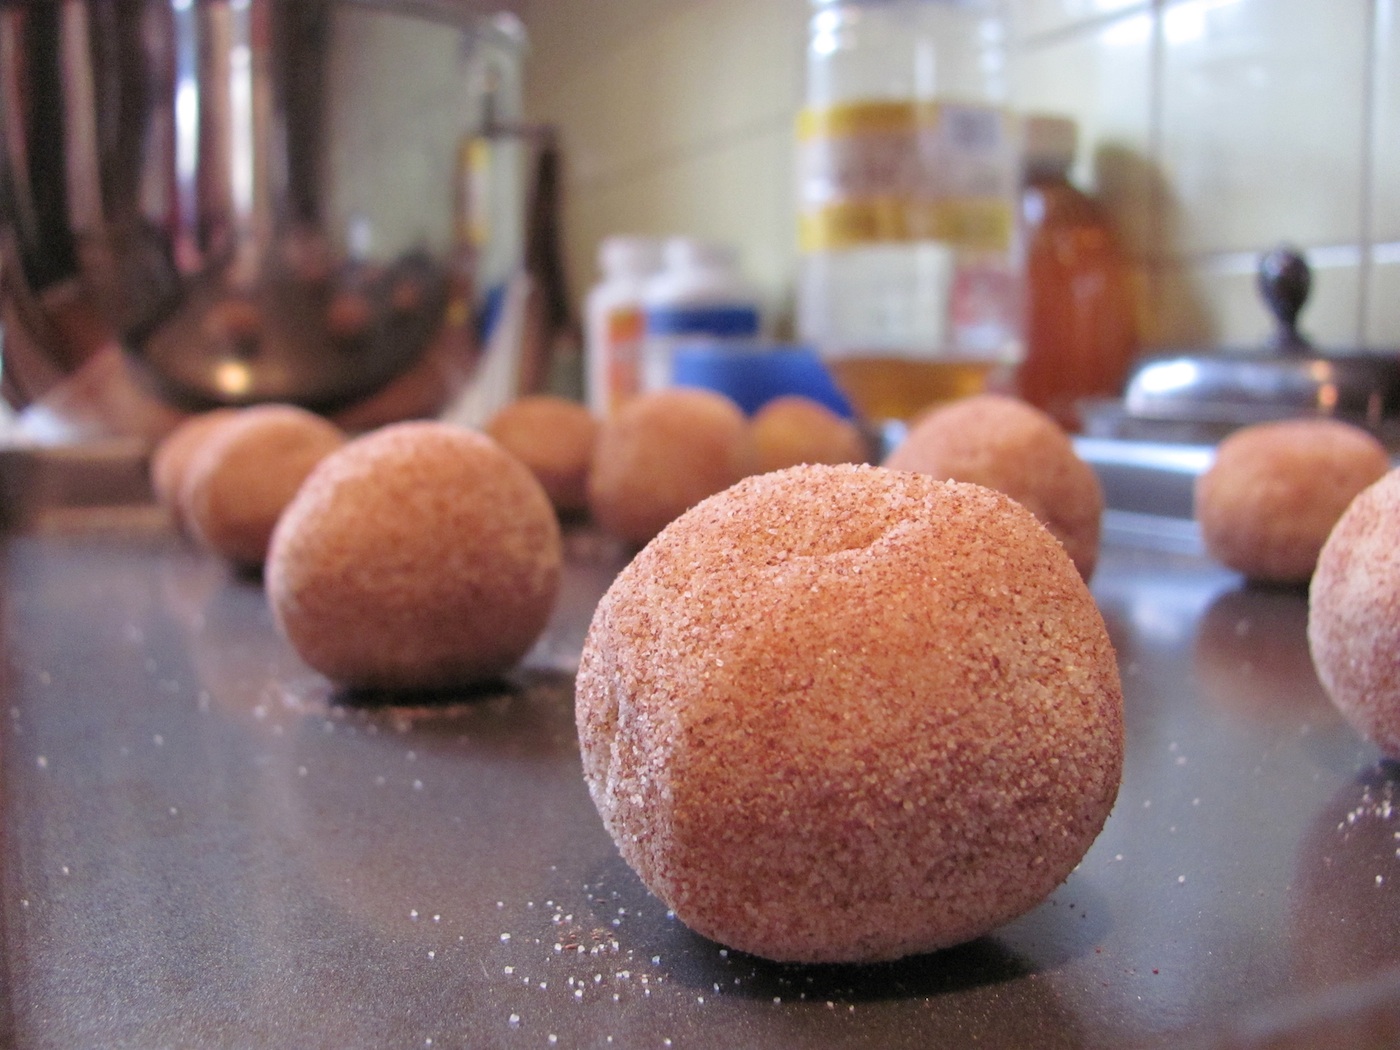
Roll or shape/pat dough into a rectangle. Cut dough into 18 squares.
Place dough squares on greased baking sheet, evenly spaced, and let rise in a warm place until doubled in size. Preheat oven to 350 degrees.
When dough buns have doubled in size (after about 45 minutes), slash each bun with a cross using a sharp knife.
Bake in preheated 350-degree oven for 10 minutes.
Meanwhile, beat egg yolk with water to make a wash.
Remove buns from oven. Brush with egg wash. Return to oven and bake another 10-12 minutes until golden brown.
Transfer buns to wire rack to cool.
Mix confectioners’ sugar with OJ to make icing. Ice buns, following the lines of the cross.
Eat ’em up.